自建代理转换节点 Github Peng-YM大佬的Sub-Store提供了几乎全平台的代理转换,Loon、Surge等可以安装其提供的模块直接使用,本教程是将Sub-Store搭建为网站,更方便clash等使用
前期准备
服务器需要安装好nginx,并提前上传证书,开放端口
域名购买后可以添加二级域名解析,如购买的域名为 zqzess.com,添加一个sub.zqzess.com
克隆并运行项目
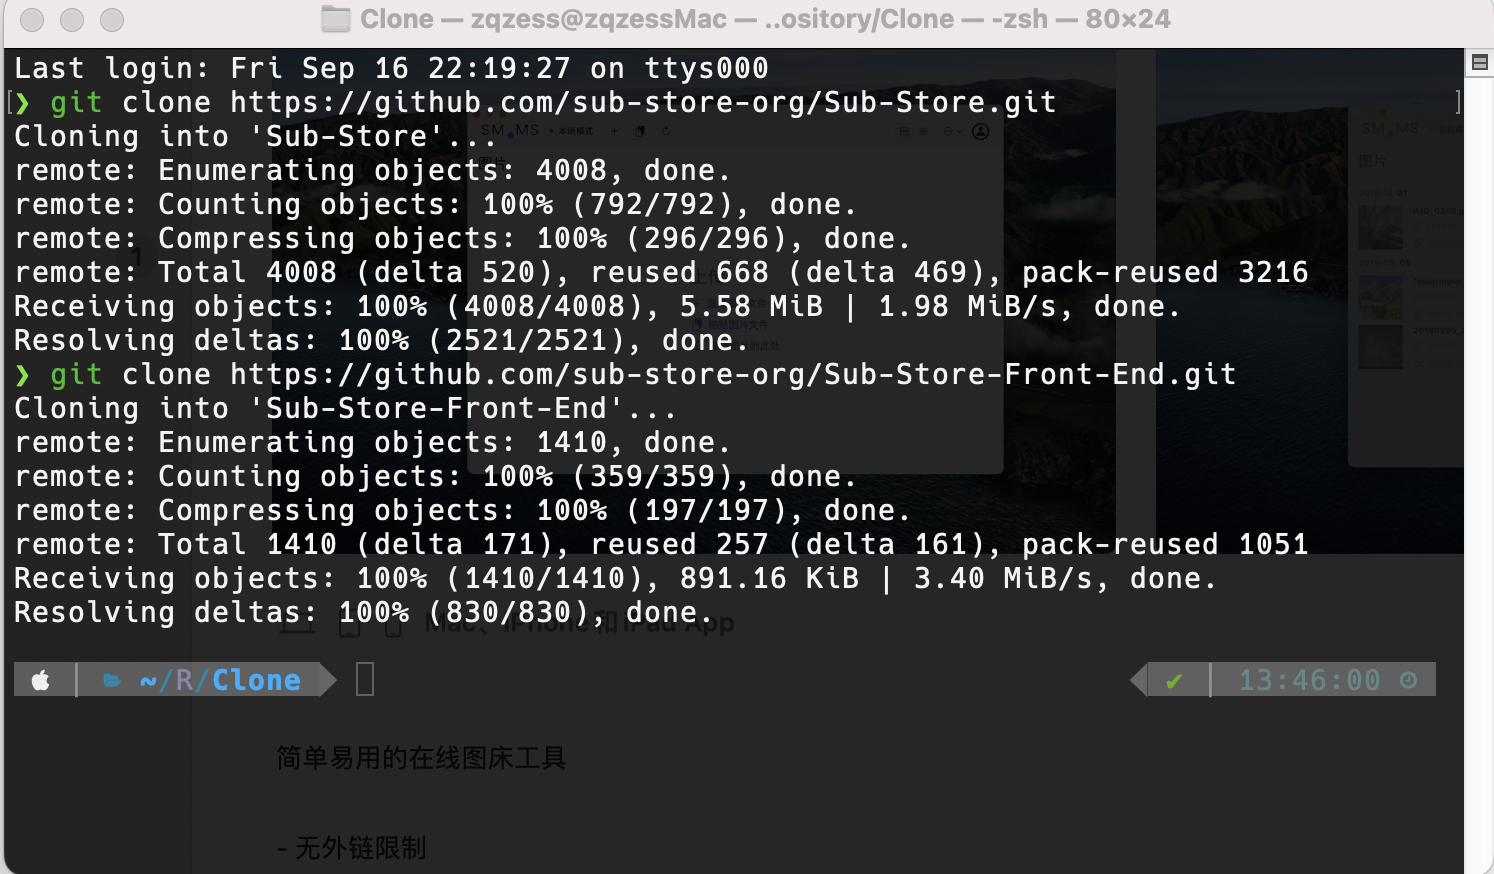
使用 git clone + 地址的方式克隆
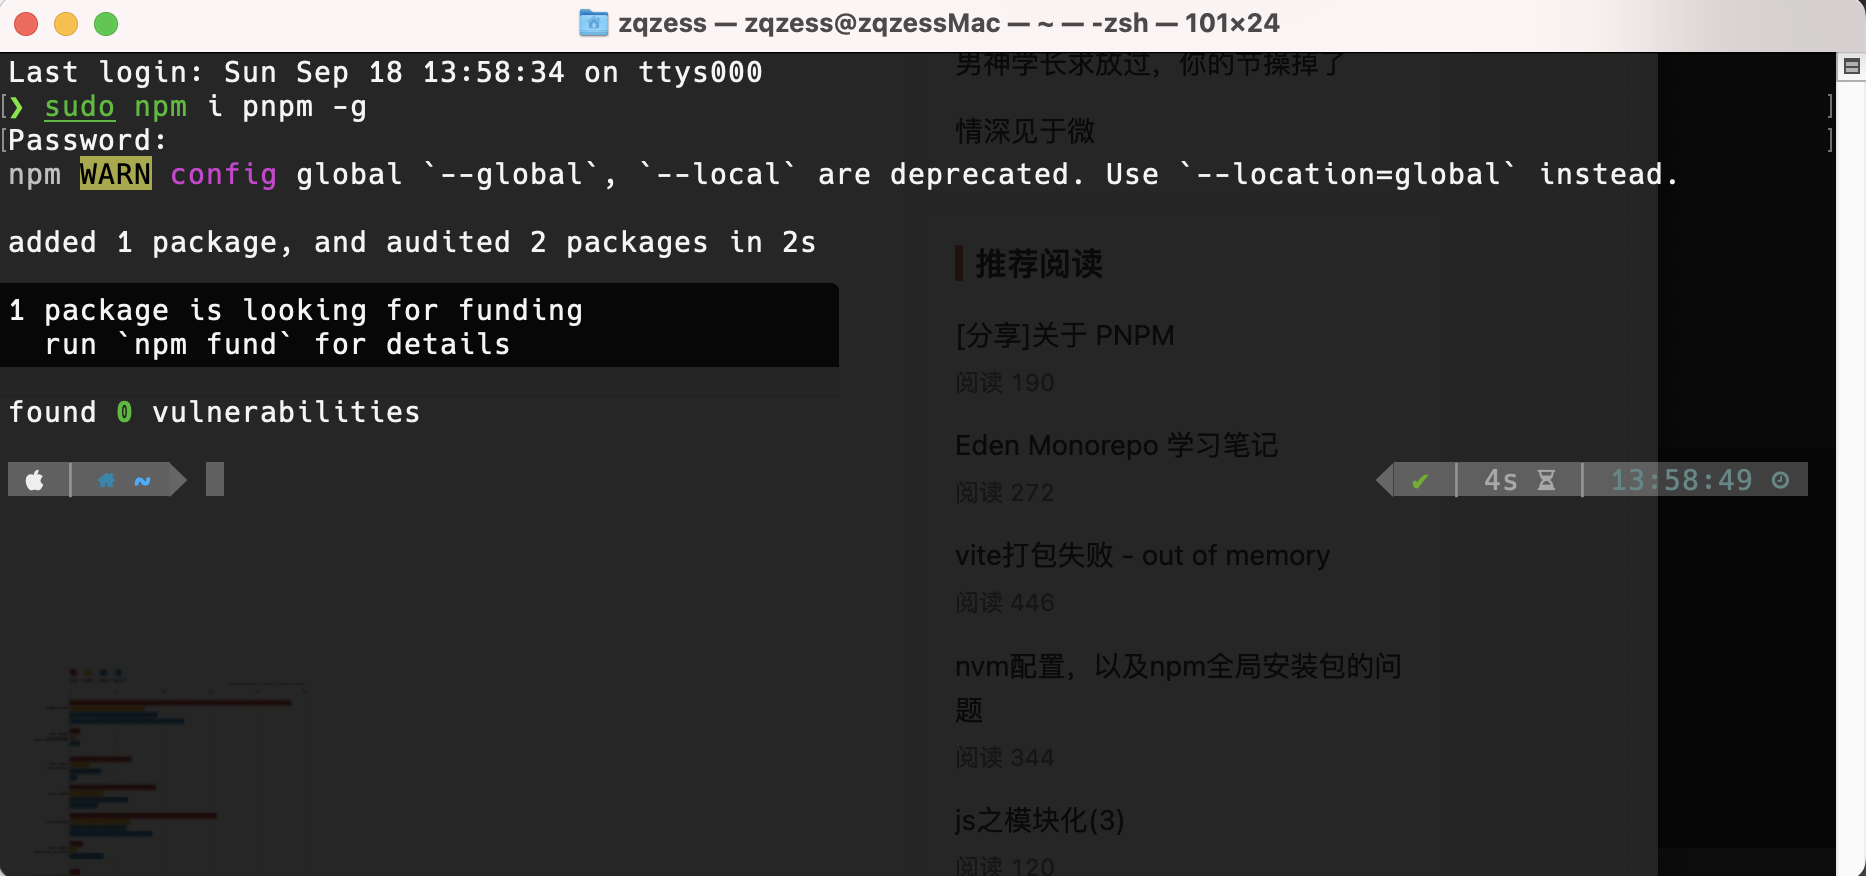
安装 pnpm npm i pnpm -g
在前端 Sub-Store-Front-End文件夹下执行pnpm i 安装依赖
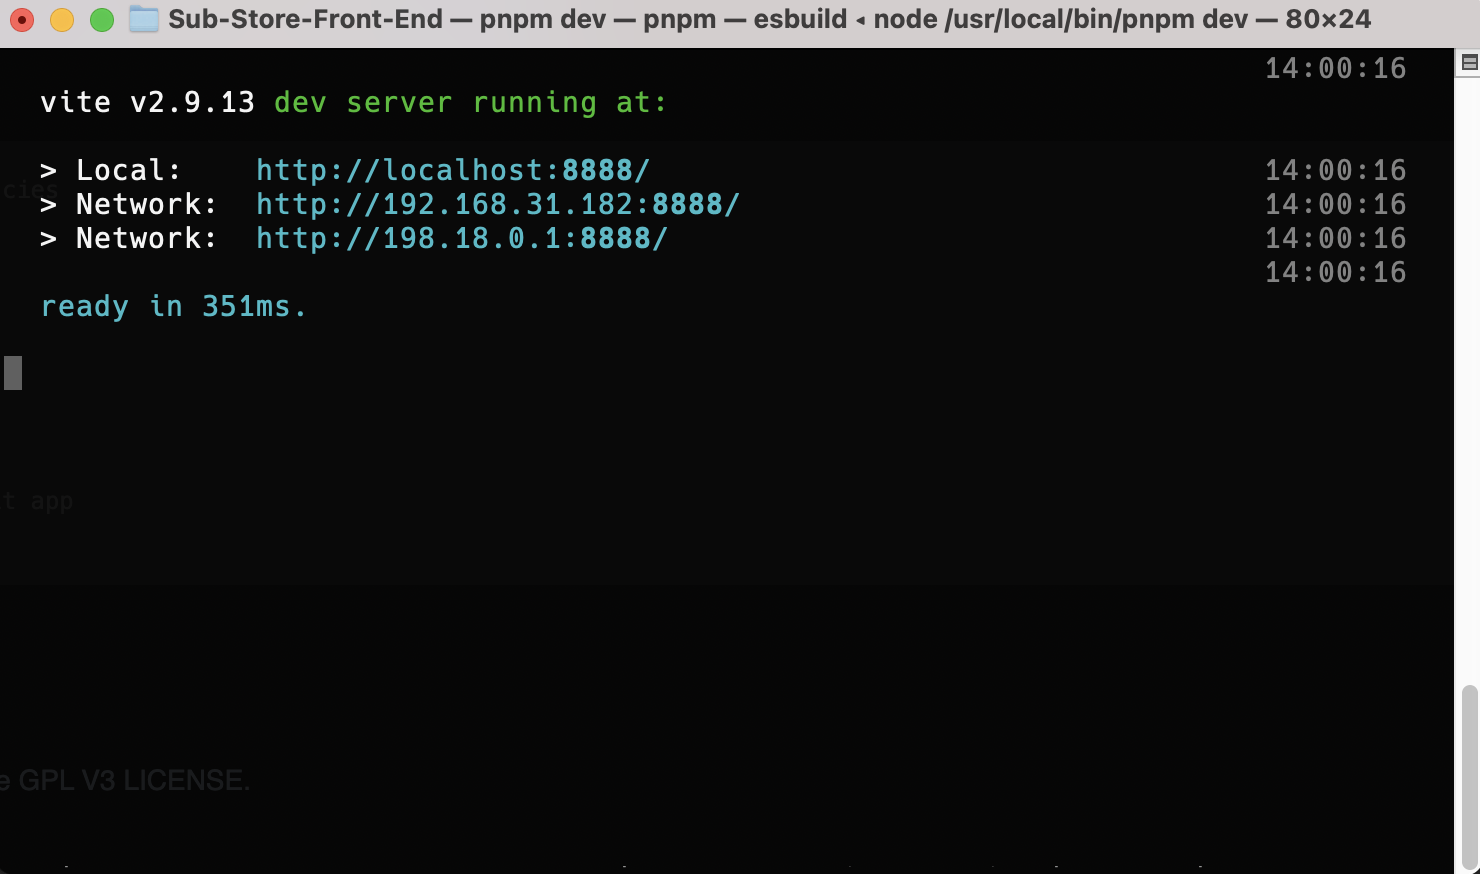
依赖安装完成后,执行pnpm dev既可以使用浏览器打开http://localhost:8888/
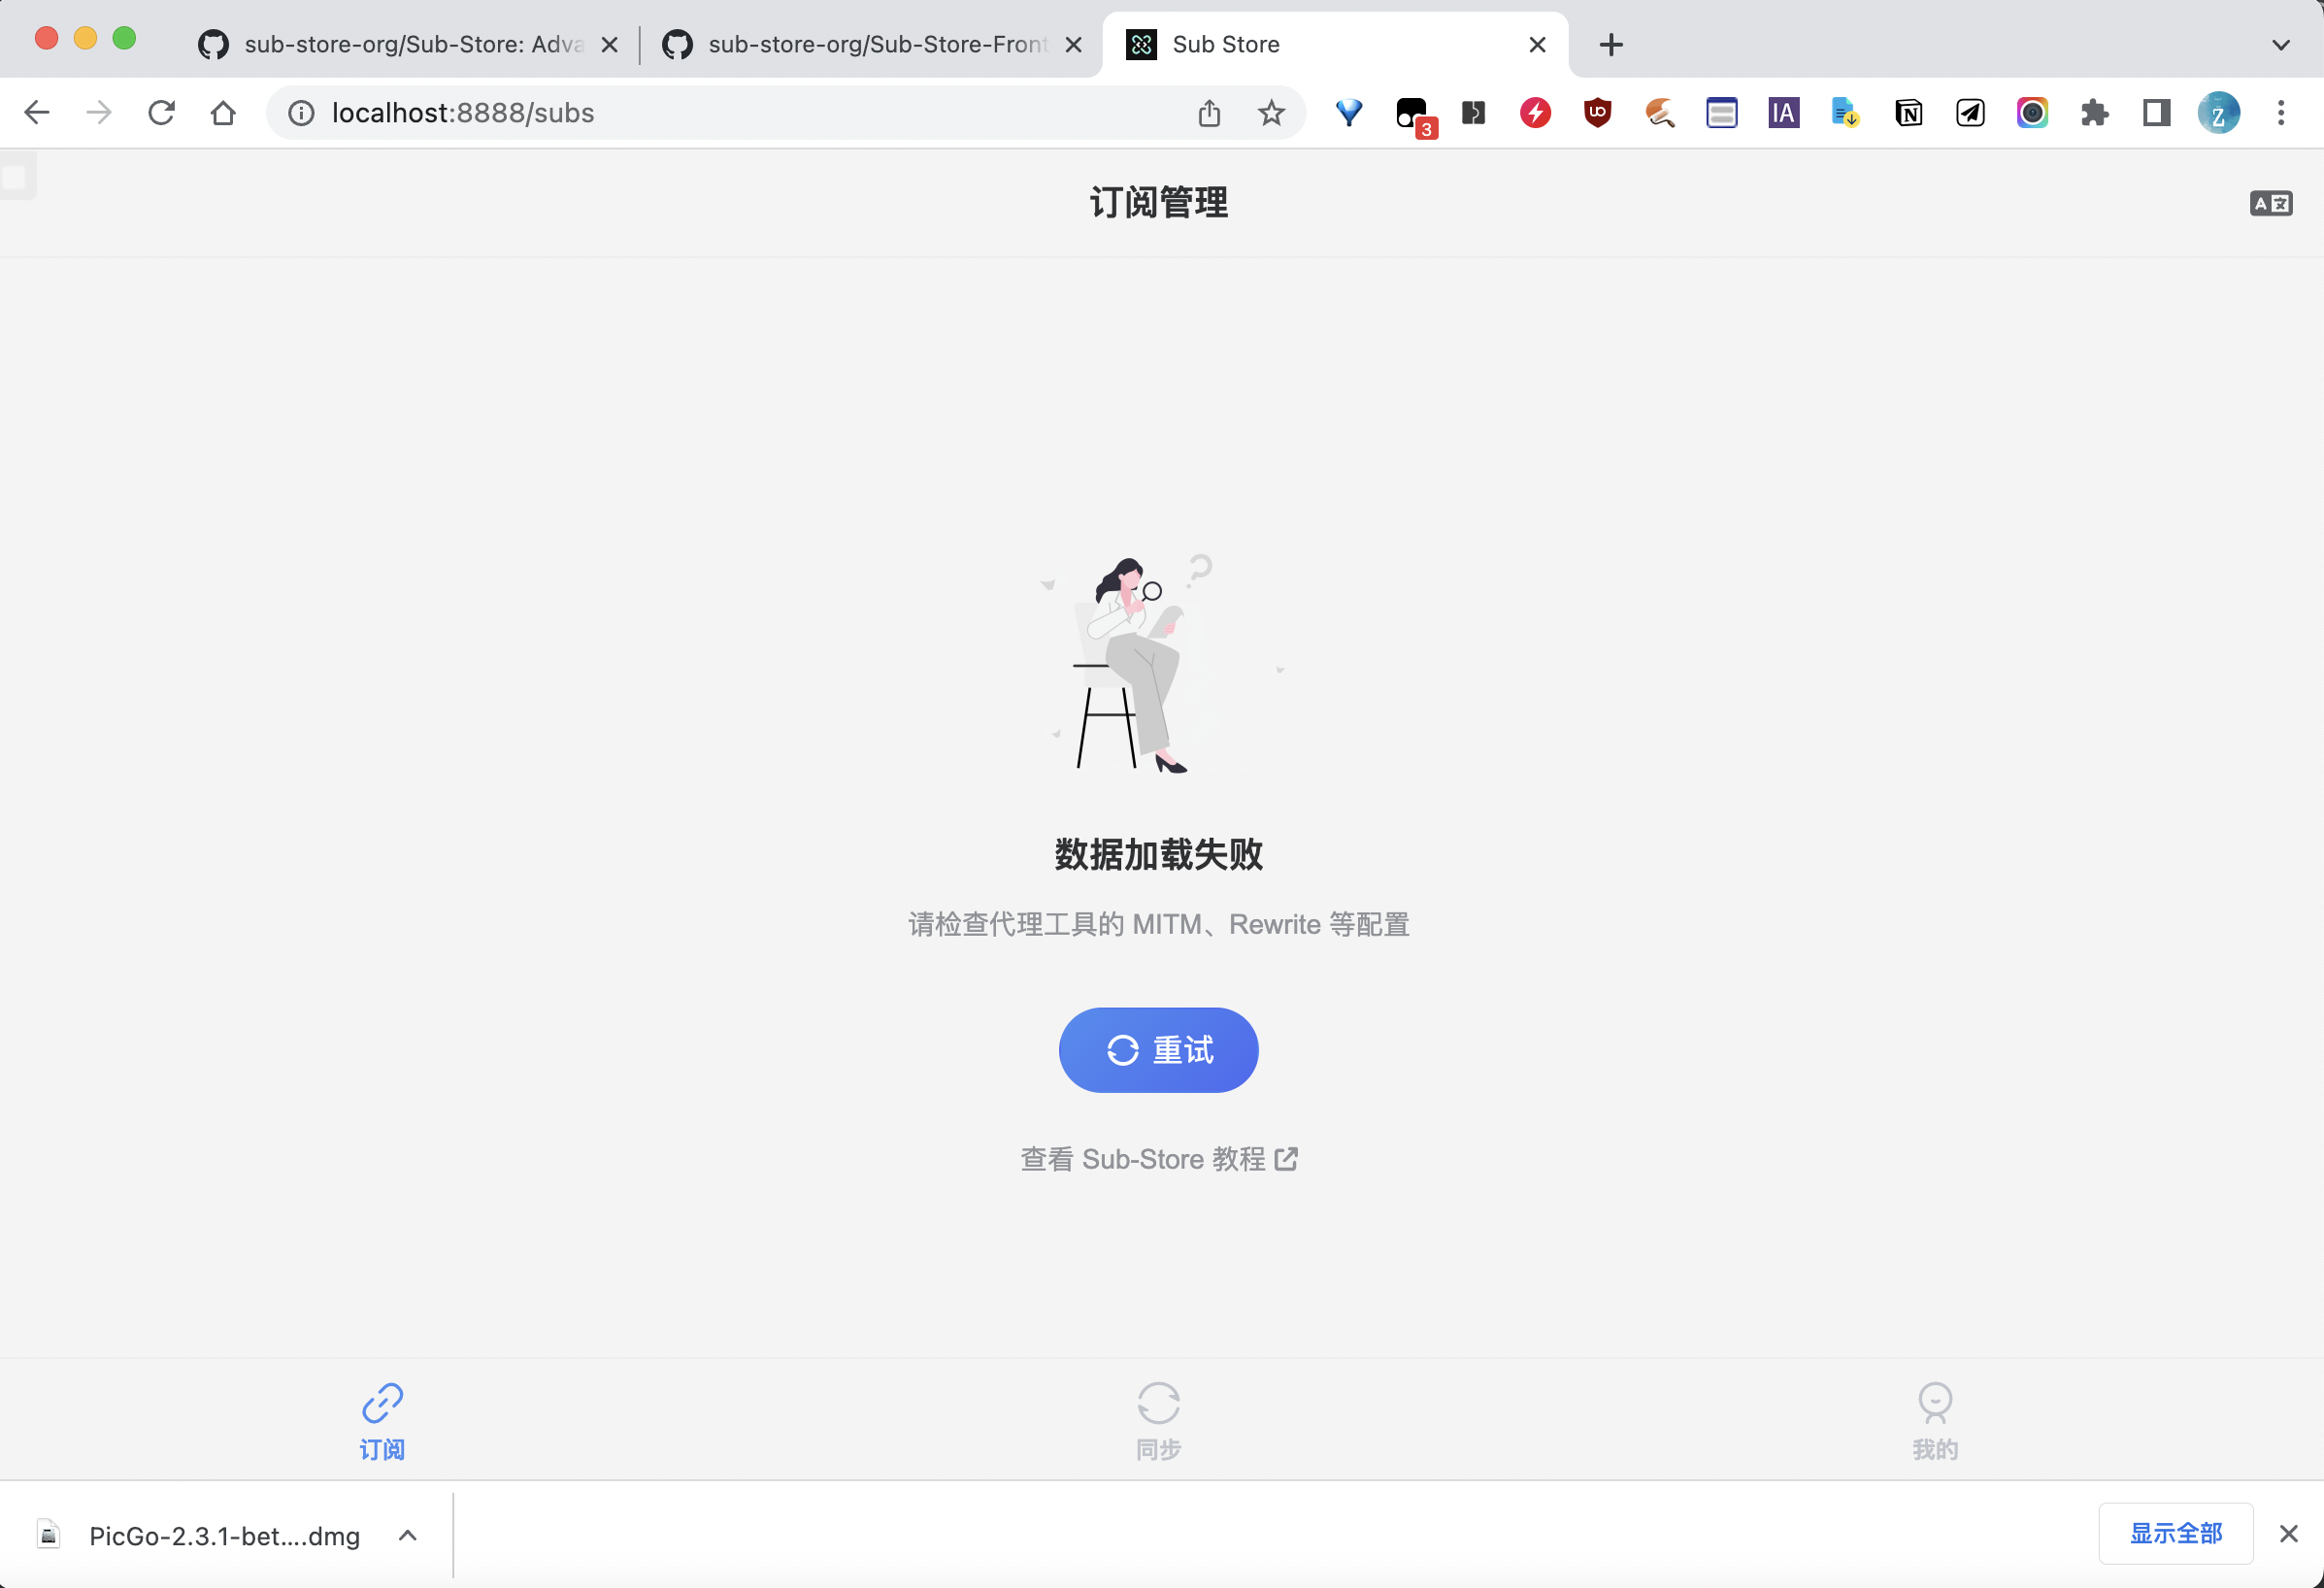
浏览器出现下面的页面即代表成功运行
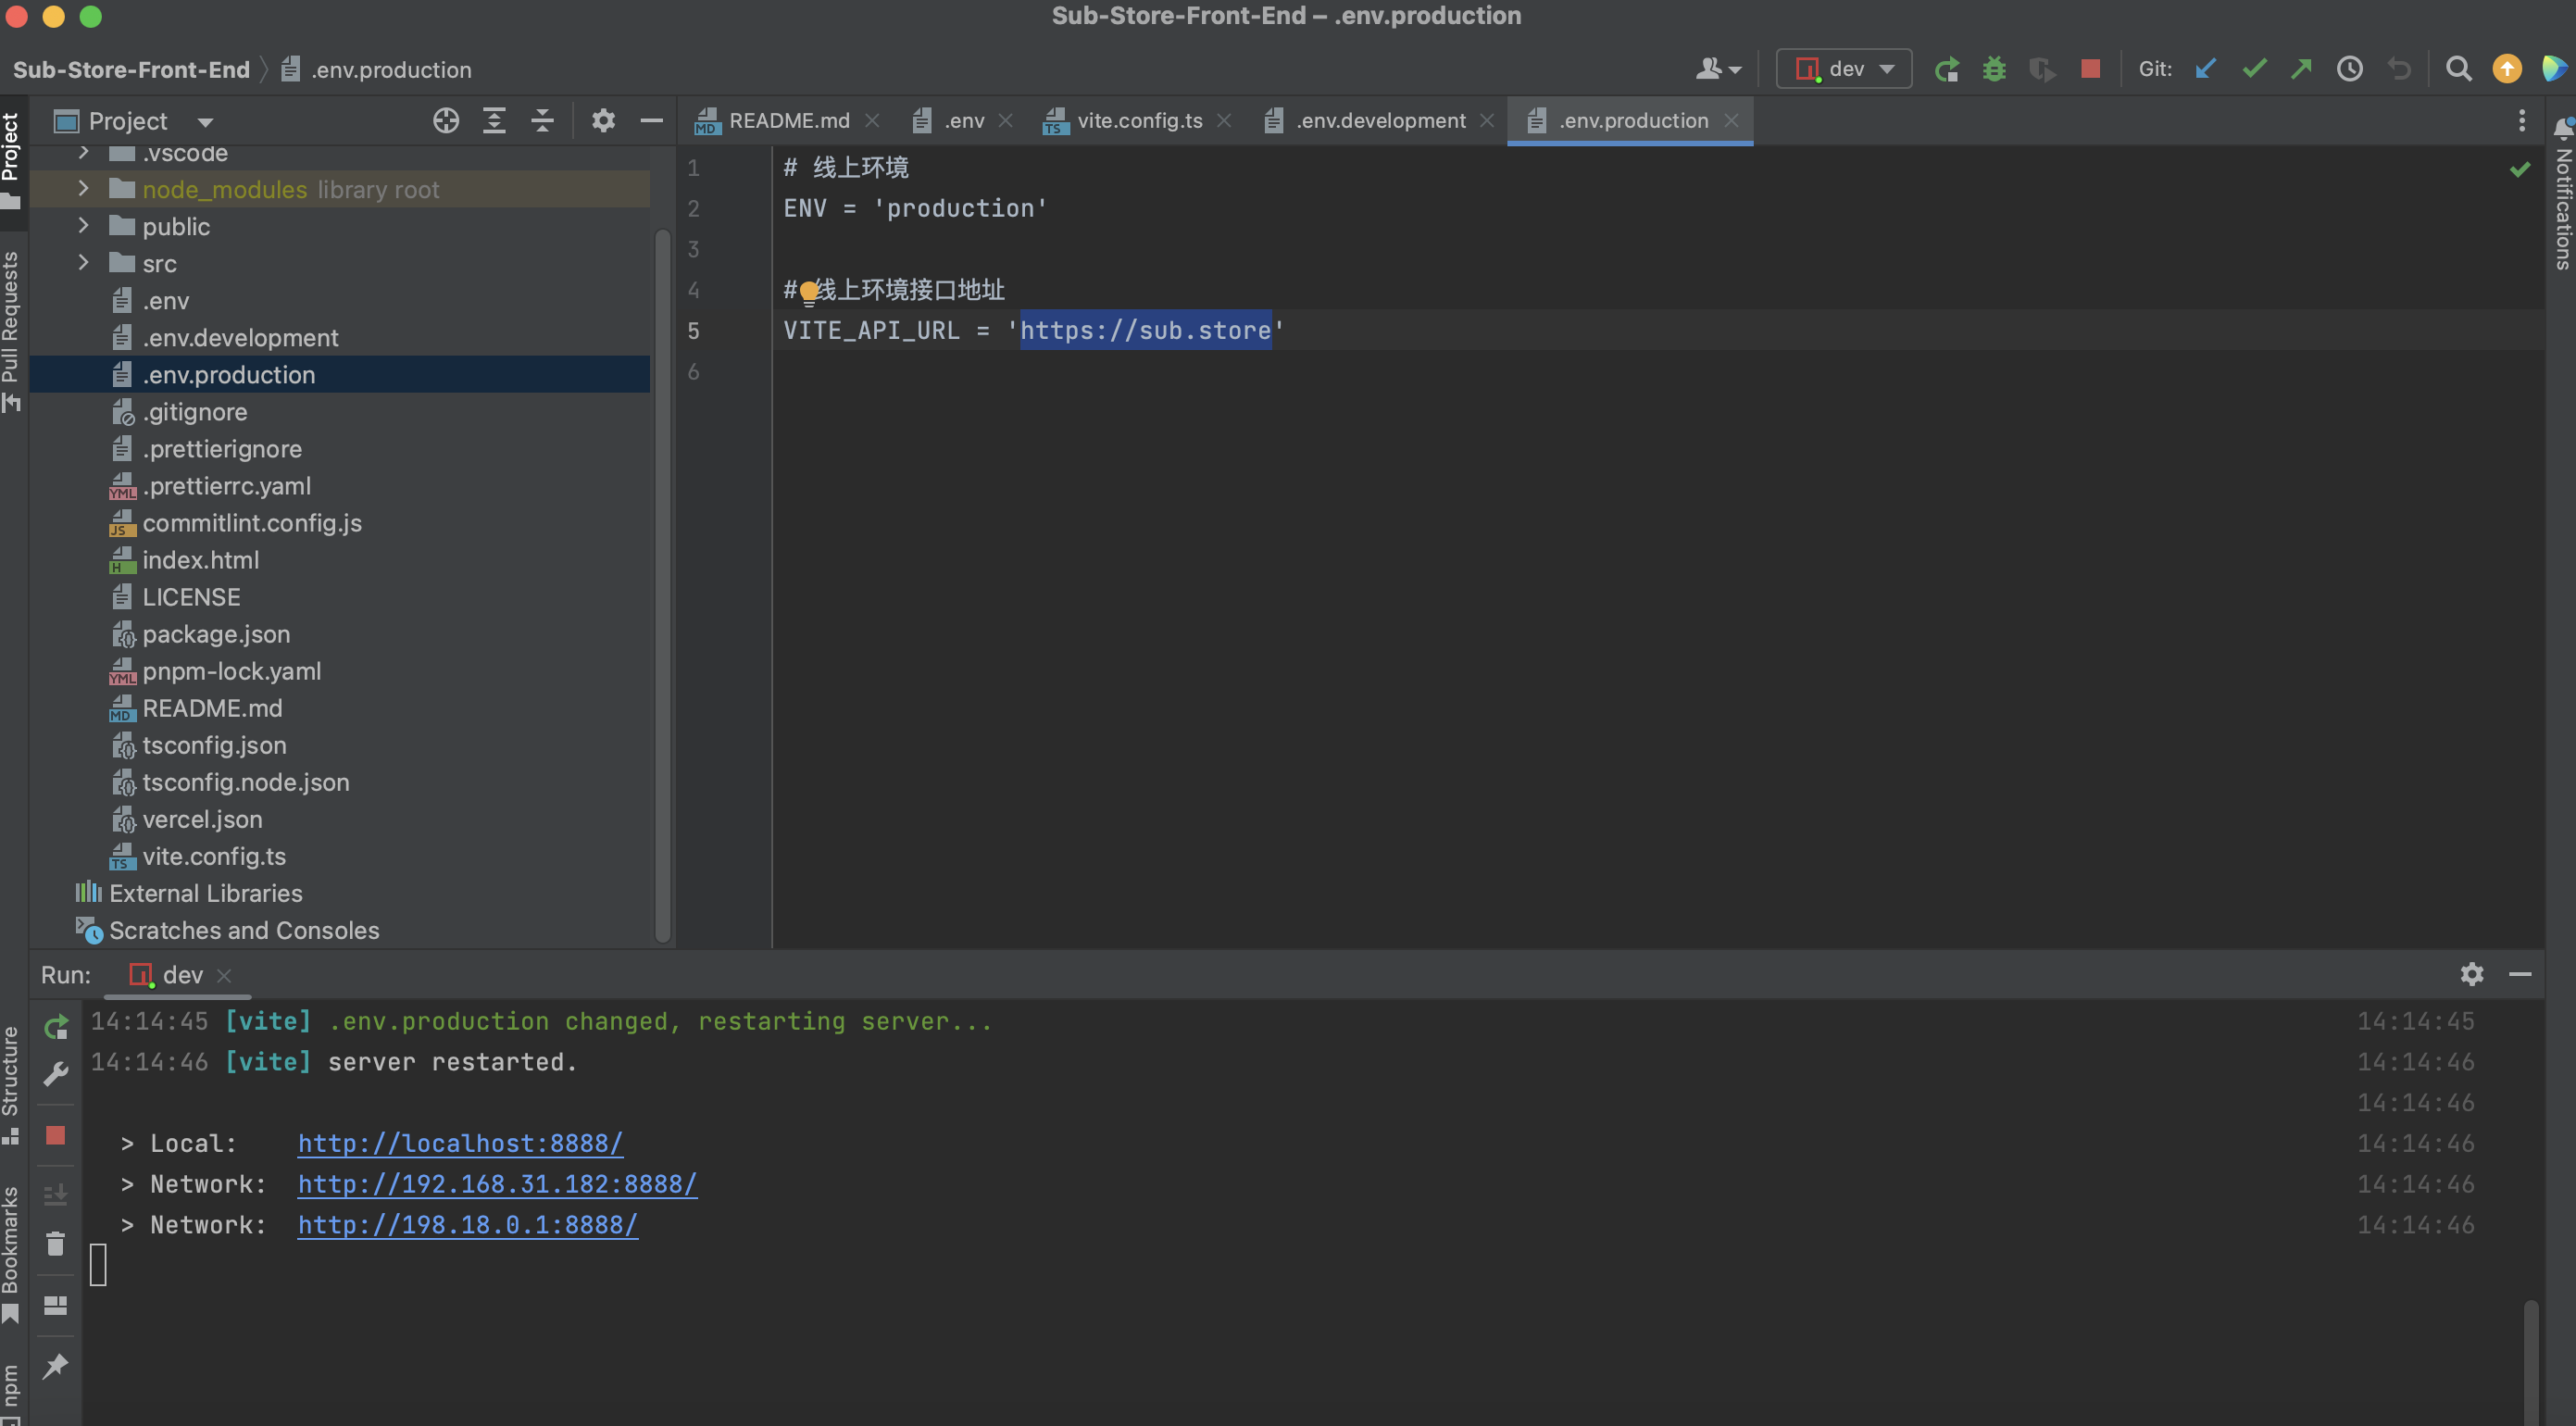
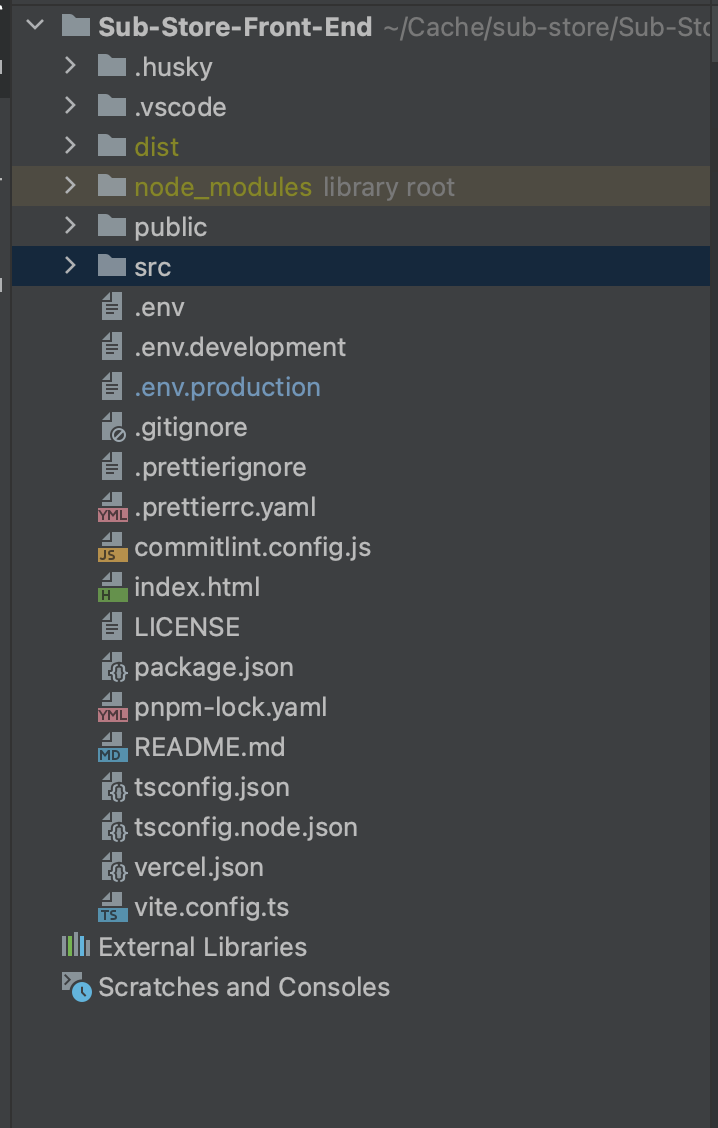
修改Sub-Store前端 修改后端接口地址 可以使用WebStorm或者VScode打开前端项目
打开项目根目录下的.env.production文件,将文件里线上环境接口地址改为自己准备的域名,比如https://sub.zqzess.top
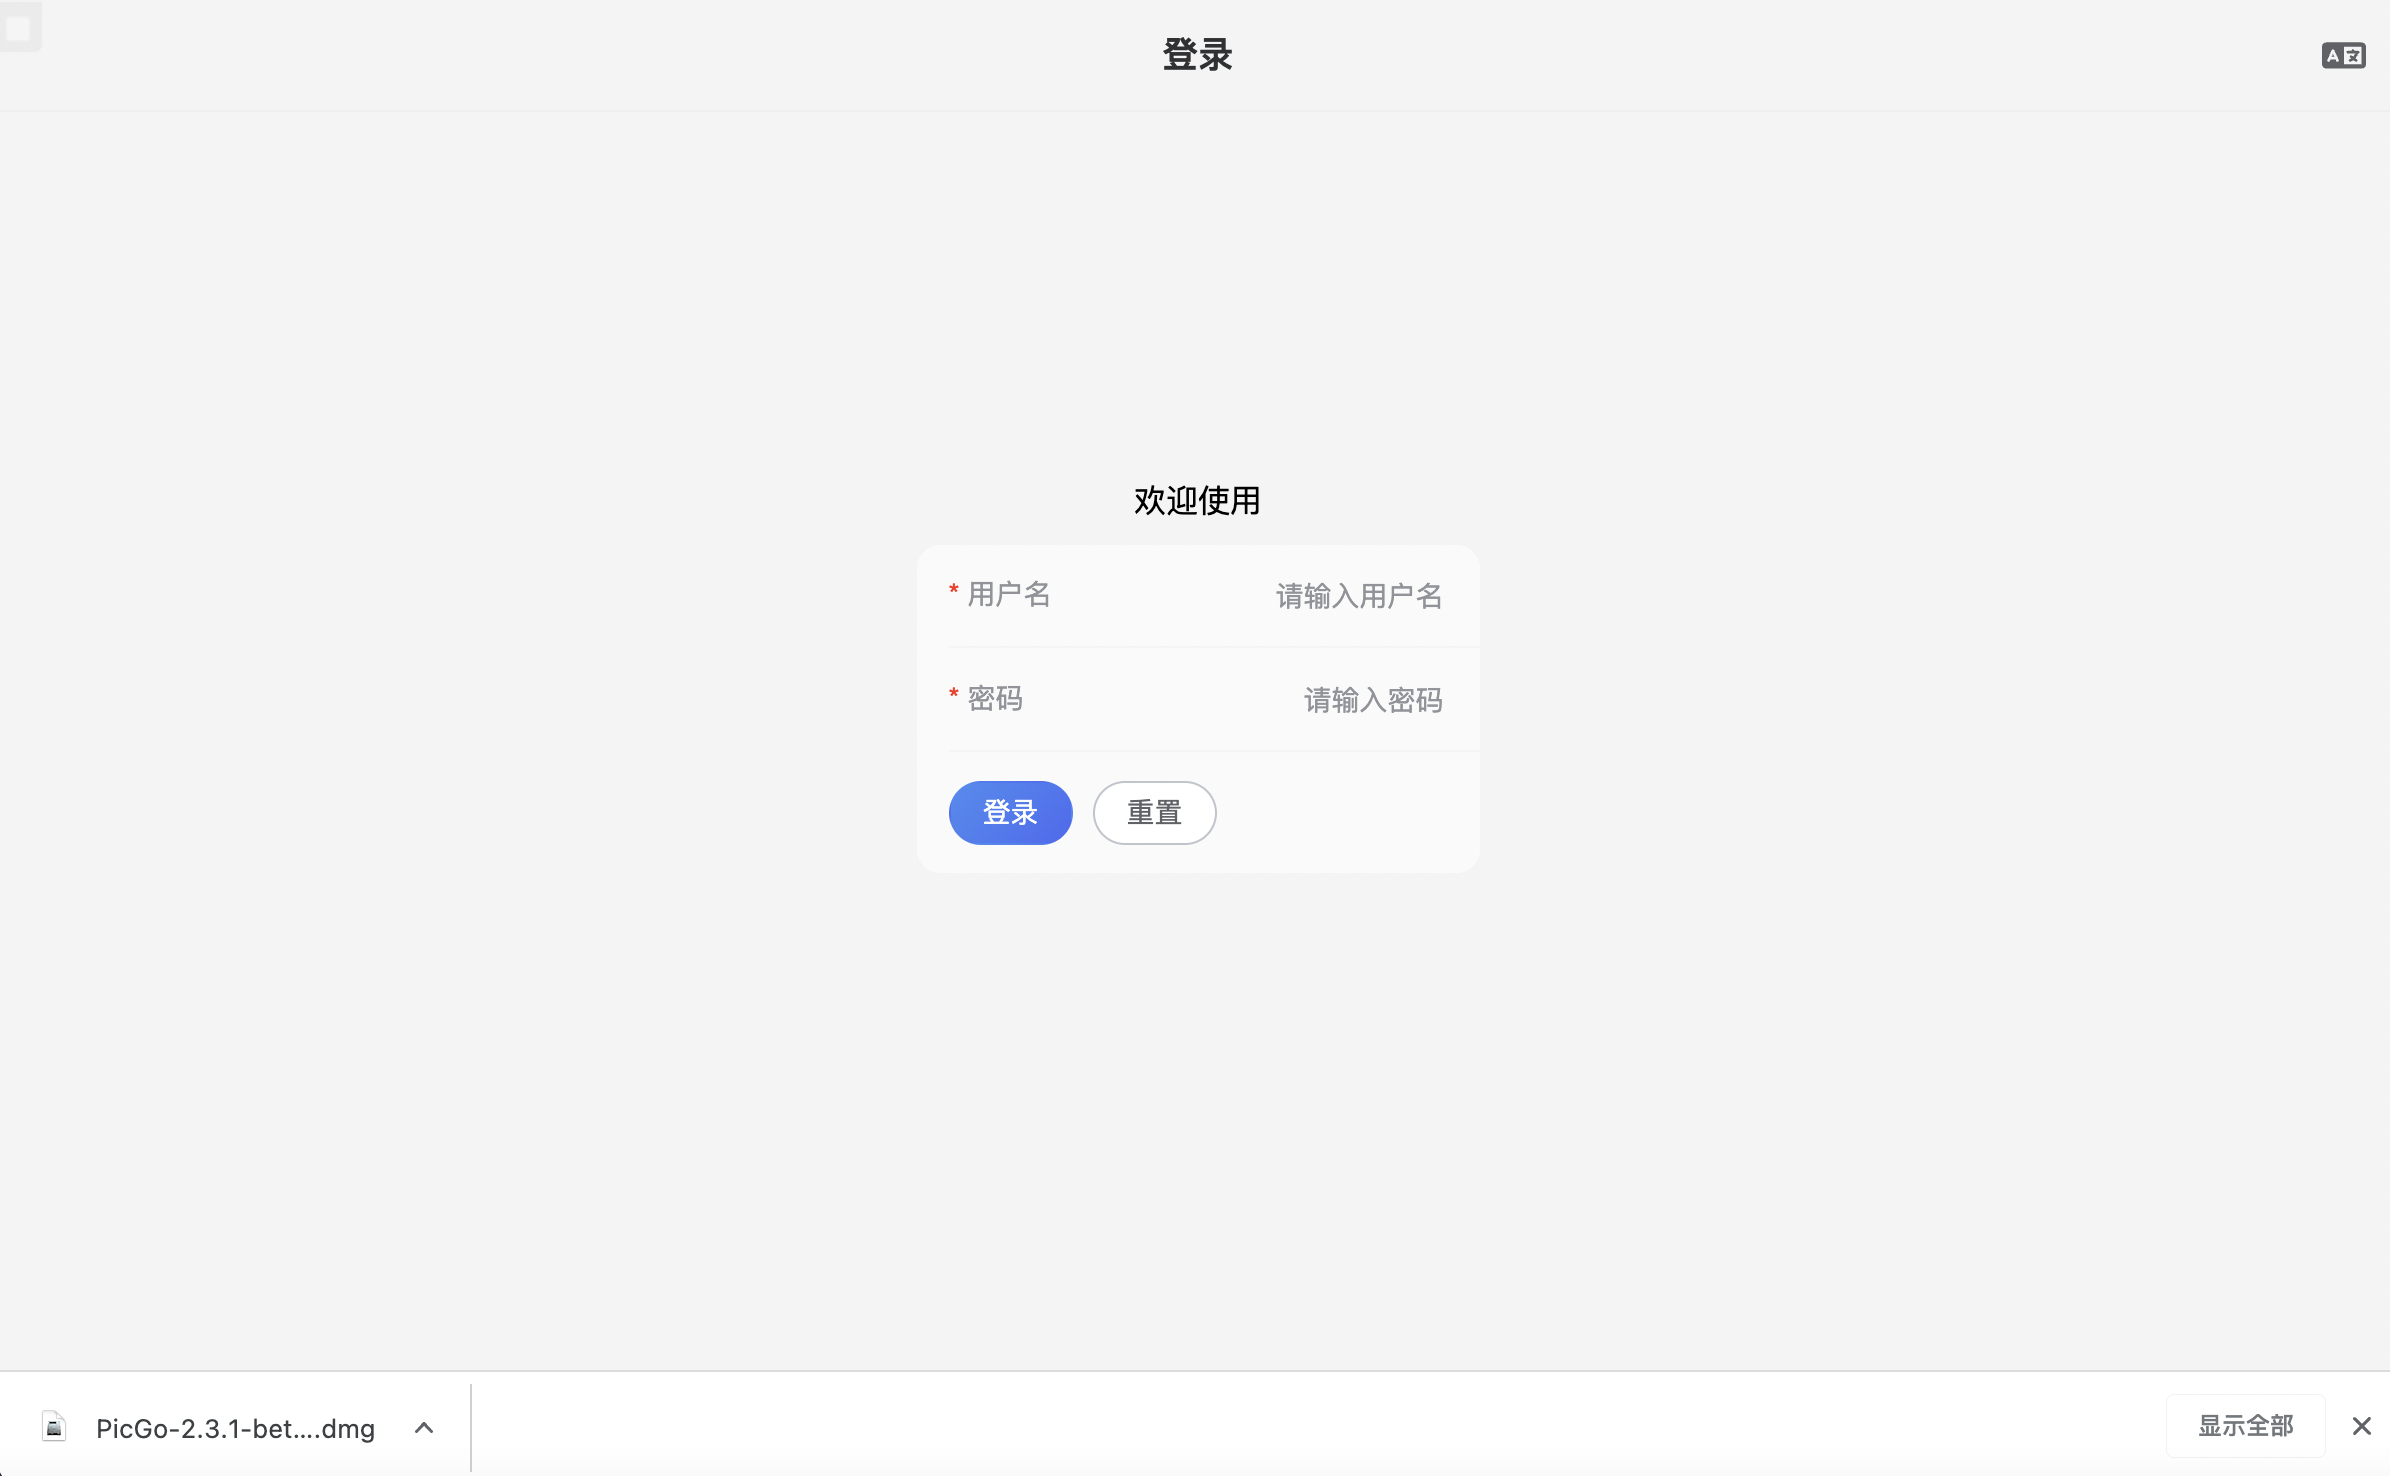
添加登陆页面 由于是要部署到服务器上,即为公开的,所以还需要一个登陆页面,阻止任何人访问
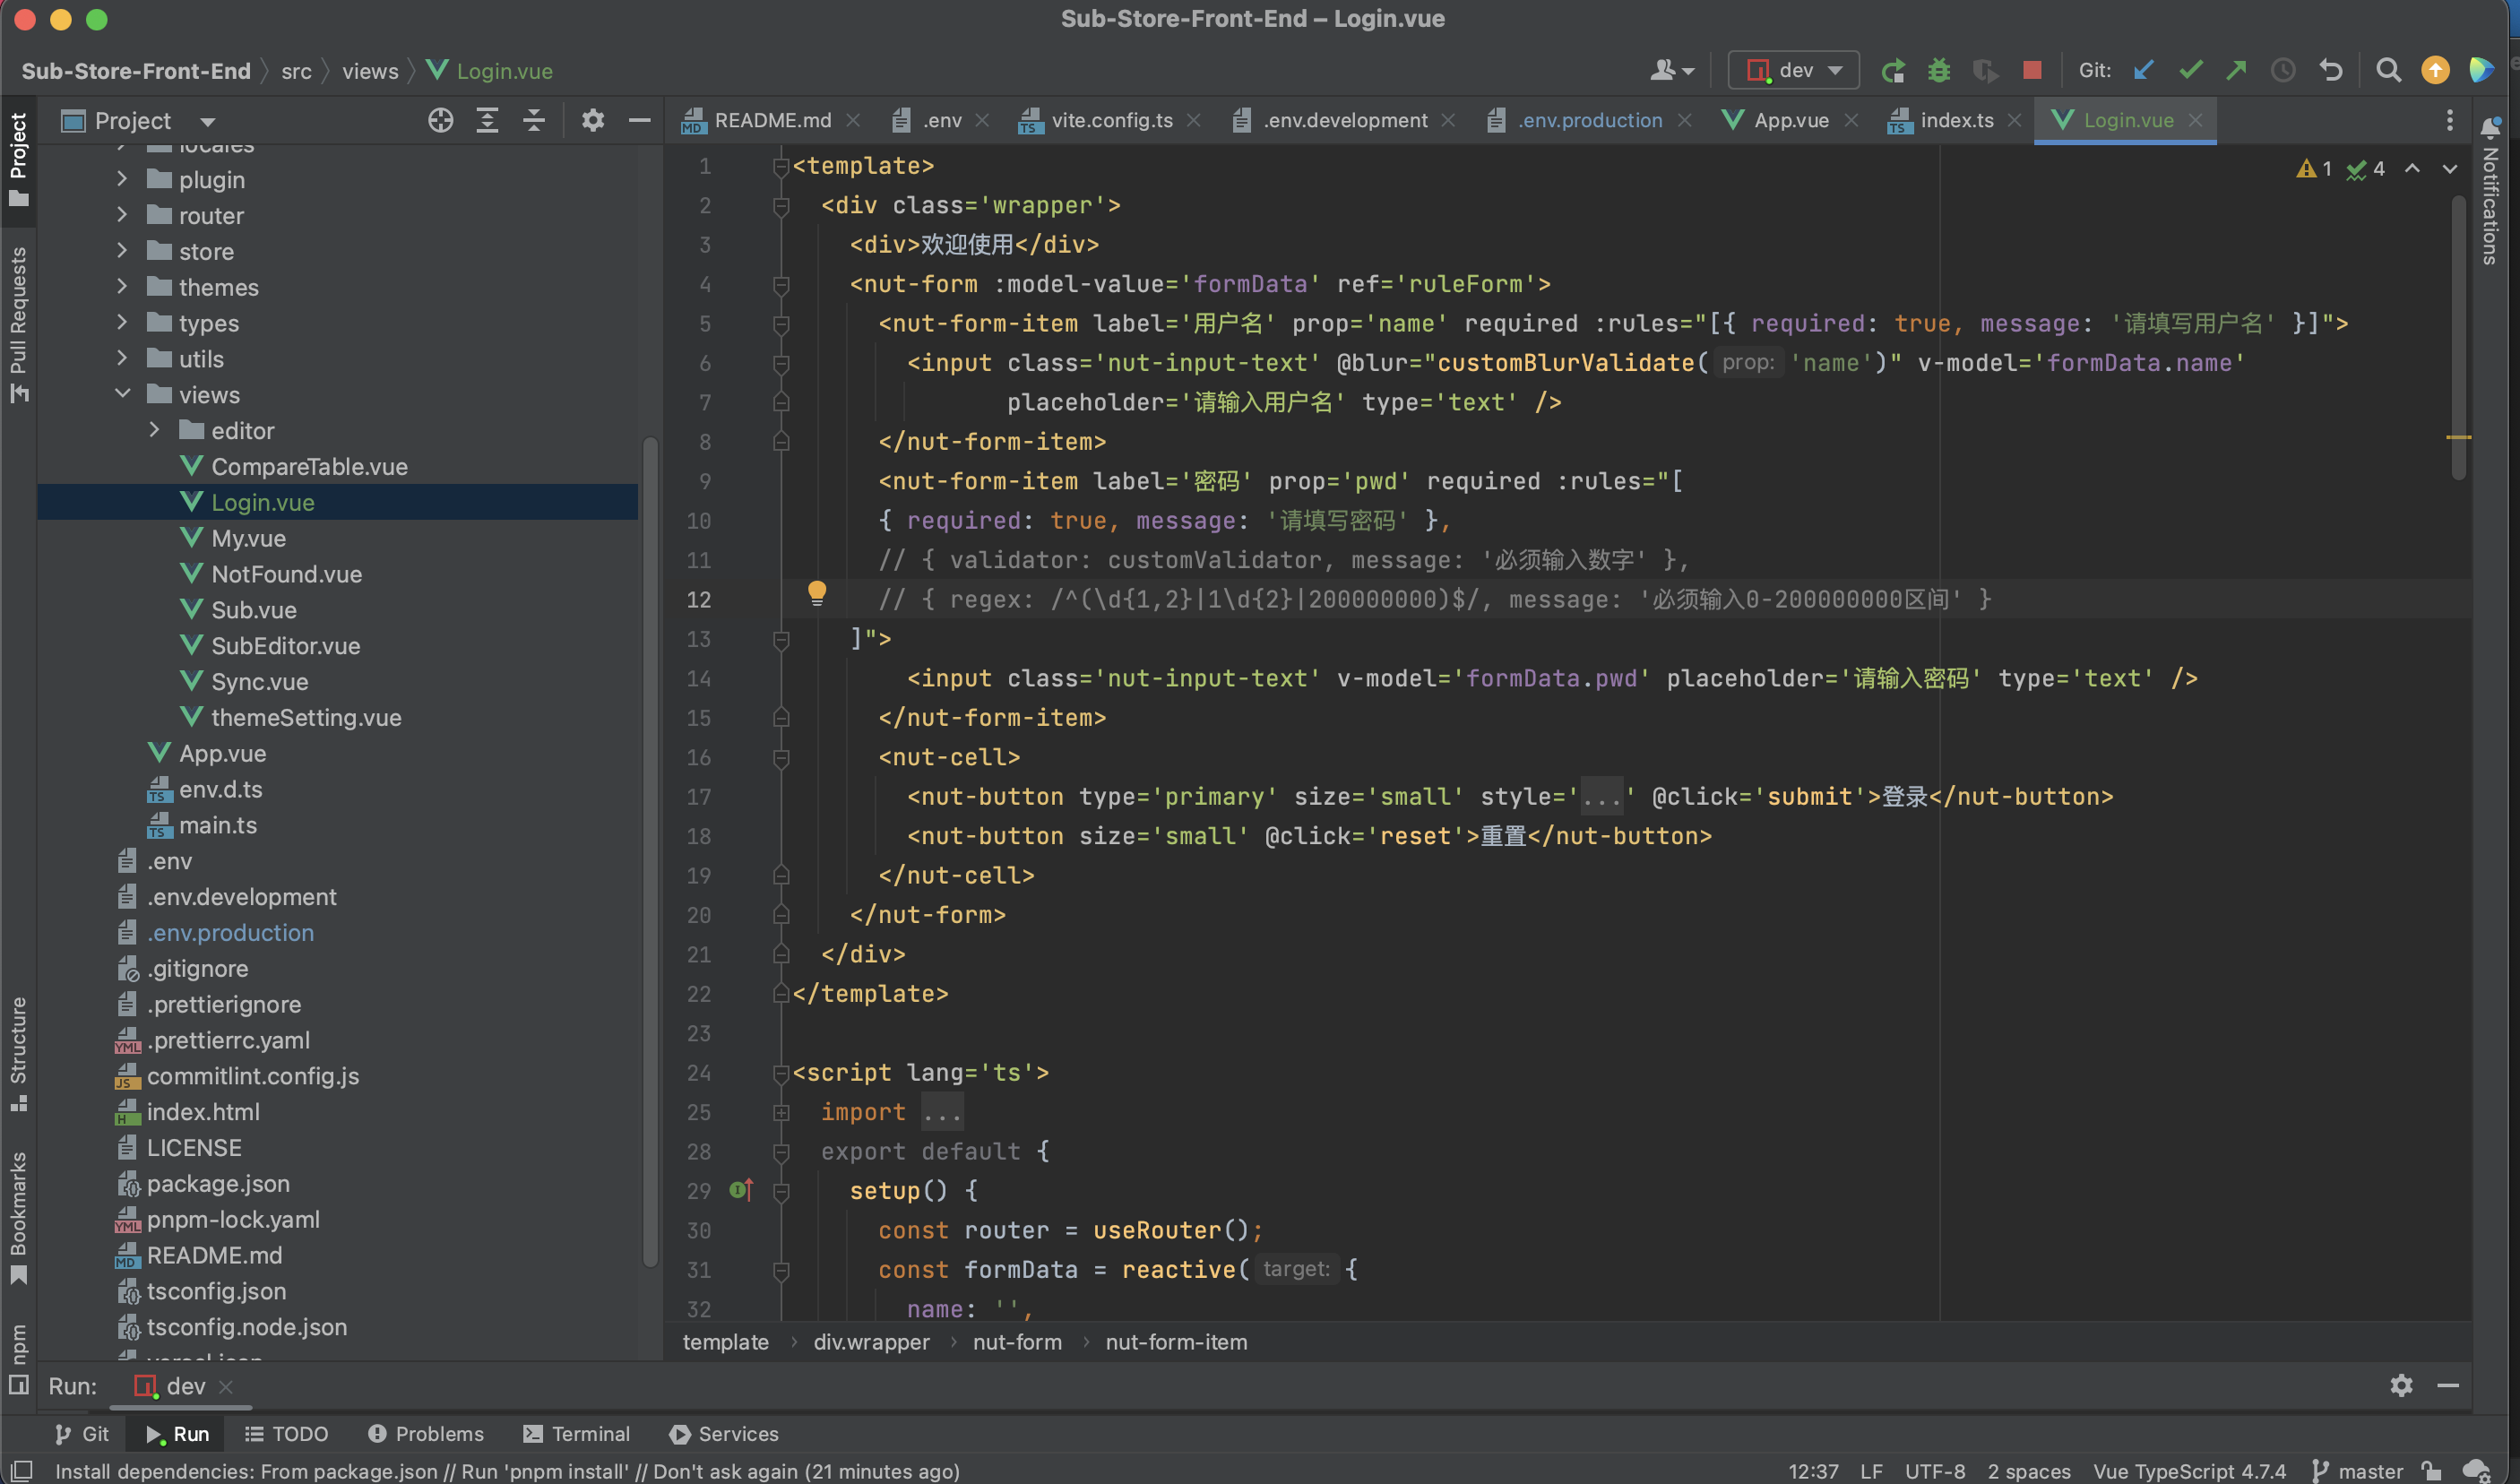
在项目根目录下的src/views下新建Login.vue文件
Login.vue代码如下
1 2 3 4 5 6 7 8 9 10 11 12 13 14 15 16 17 18 19 20 21 22 23 24 25 26 27 28 29 30 31 32 33 34 35 36 37 38 39 40 41 42 43 44 45 46 47 48 49 50 51 52 53 54 55 56 57 58 59 60 61 62 63 64 65 66 67 68 69 70 71 72 73 74 75 76 77 78 79 80 81 82 83 84 85 86 87 88 89 90 91 92 93 94 95 96 97 98 99 100 101 102 103 104 105 106 107 108 109 110 111 <template > <div class ='wrapper' > <div > 欢迎使用</div > <nut-form :model-value ='formData' ref ='ruleForm' > <nut-form-item label ='用户名' prop ='name' required :rules ="[{ required: true, message: '请填写用户名' }]" > <input class ='nut-input-text' @blur ="customBlurValidate('name')" v-model ='formData.name' placeholder ='请输入用户名' type ='text' /> </nut-form-item > <nut-form-item label ='密码' prop ='pwd' required :rules ="[ { required: true, message: '请填写密码' }, // { validator: customValidator, message: '必须输入数字' }, // { regex: /^(\d{1,2}|1\d{2}|200000000)$/, message: '必须输入0-200000000区间' } ]" > <input class ='nut-input-text' v-model ='formData.pwd' placeholder ='请输入密码' type ='text' /> </nut-form-item > <nut-cell > <nut-button type ='primary' size ='small' style ='margin-right: 10px' @click ='submit' > 登录</nut-button > <nut-button size ='small' @click ='reset' > 重置</nut-button > </nut-cell > </nut-form > </div > </template > <script lang ='ts' > import { Notify , Toast } from '@nutui/nutui' ; import { ref, reactive } from 'vue' ; import { useRouter } from 'vue-router' ; export default { setup ( const router = useRouter (); const formData = reactive ({ name : '' , pwd : '' , }); const validate = (item: any ) => { console .log (item); }; const ruleForm = ref<any>(null ); const submit = ( ruleForm.value .validate ().then (({ valid, errors }: any ) => { if (valid) { console .log ('success' , formData); if (formData.name == 'name' ) { if (formData.pwd == 'password' ) { Notify .success ('登录成功,欢迎回来!' ,{ duration : 1000 }); Toast .loading ('' , { cover : false }); sessionStorage .setItem ('token' , 'token' ) setTimeout (() => { router.push ({path : '/sub' }); Toast .hide (); }, 1200 ); } else { Notify .danger ('密码错误!' ); } } else { Notify .warn ('用户不存在!' ); } } else { console .log ('error submit!!' , errors); } }); }; const reset = ( ruleForm.value .reset (); }; const customBlurValidate = (prop: string ) => { ruleForm.value .validate (prop).then (({ valid, errors }: any ) => { if (valid) { console .log ('success' , formData); } else { console .log ('error submit!!' , errors); } }); }; const customValidator = (val: string ) => /^\d+$/ .test (val); const asyncValidator = (val: string ) => { return new Promise ((resolve ) => { Toast .loading ('模拟异步验证中...' ); setTimeout (() => { Toast .hide (); resolve (/^400(-?)[0-9]{7}$|^1\d{10}$|^0[0-9]{2,3}-[0-9]{7,8}$/ .test (val)); }, 1000 ); }); }; return { ruleForm, formData, validate, customValidator, asyncValidator, customBlurValidate, submit, reset }; }, }; </script > <style lang ='scss' scoped > .wrapper { width : 100% ; height : 100% ; display : flex; justify-content : center; align-items : center; flex-direction : column; h3 { padding-bottom : 24px ; } } </style >
修改代码中的用户名、密码、token
示例:
1
2
3
4
5
6
7
if (formData.name == 'zqzess' ) { if (formData.pwd == 'zqzess' ) { Notify .success ('登录成功,欢迎回来!' ,{ duration : 1000 }); Toast .loading ('' , { cover : false }); sessionStorage .setItem ('token' , 'code' )
此处sessionStorage.setItem('token', 'code')定义的token为code,一定要记住,后面路由会用到
此处formData.name == 'zqzess'定义的zqzess即为用户名
此处formData.pwd == 'zqzess'定义的zqzess即为密码
1 这种明文写在代码里面账号密码其实也不安全,仅作为一个简单的认证,以后有机会再改写需要后端认证的登陆
修改路由 接下来需要把登陆页面添加至路由里面,并加入拦截,没有token的需要跳转登陆页
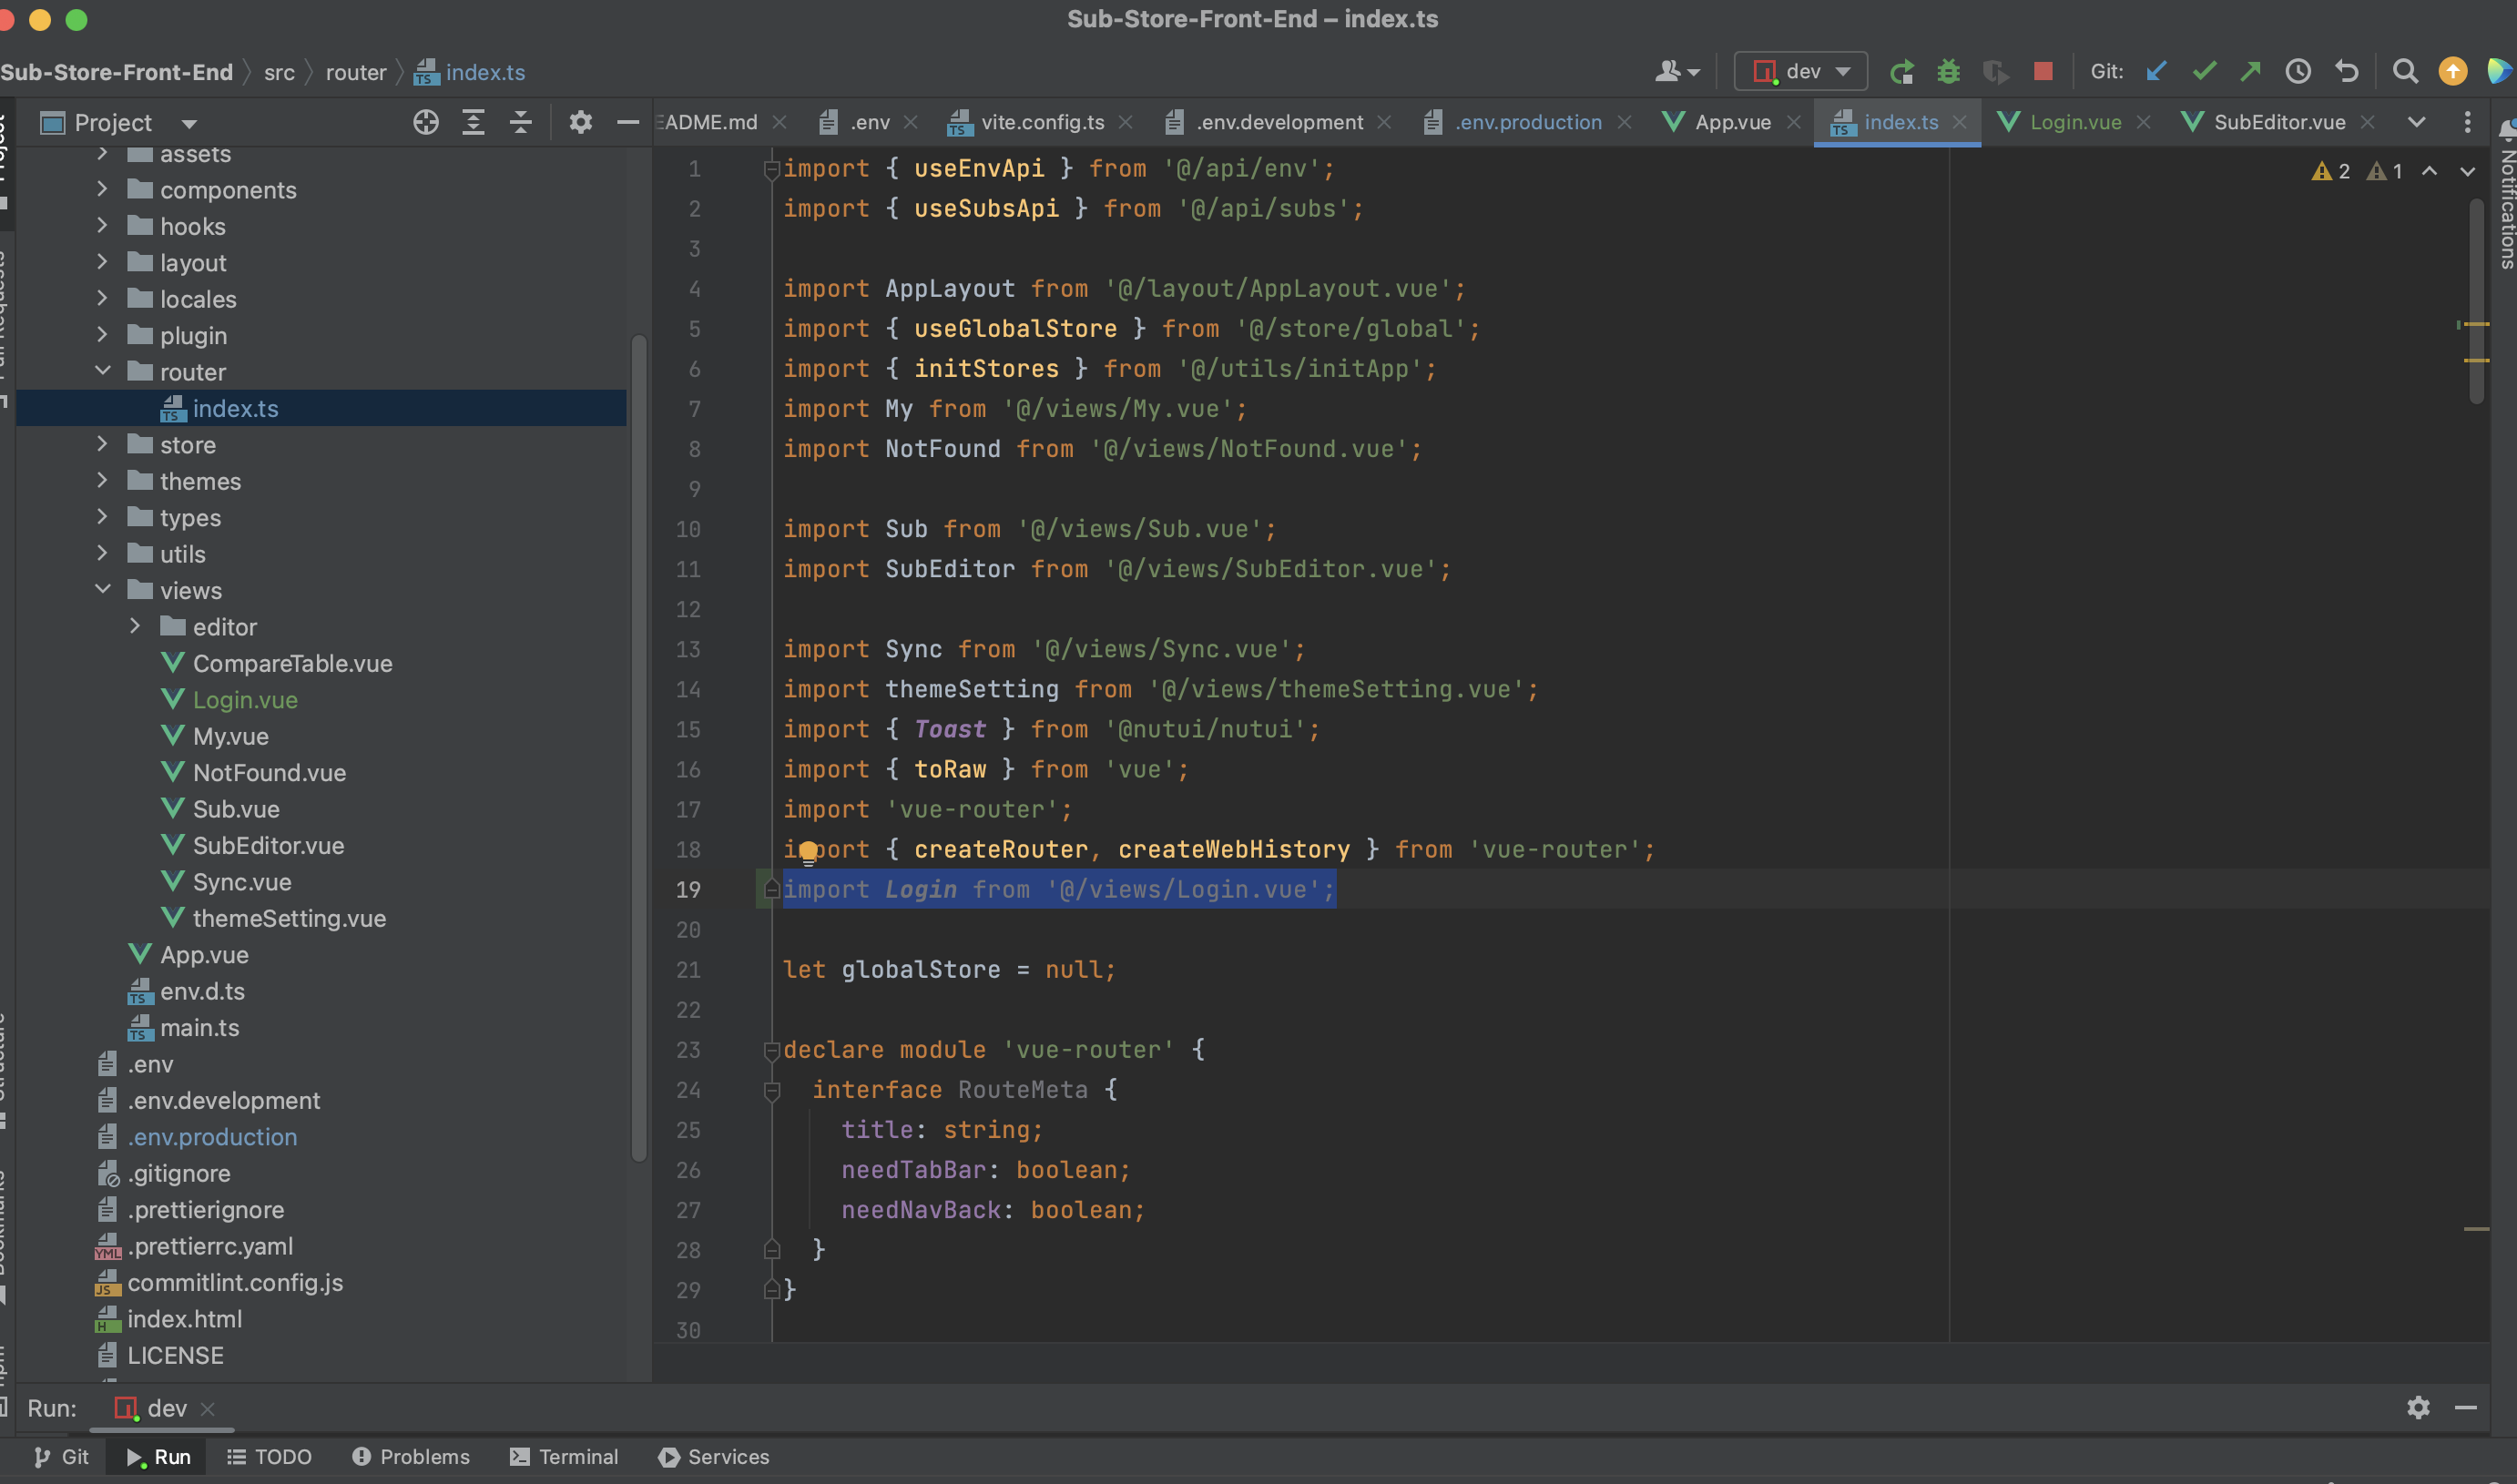
项目根目录/src/router/index.ts
添加import Login from '@/views/Login.vue';
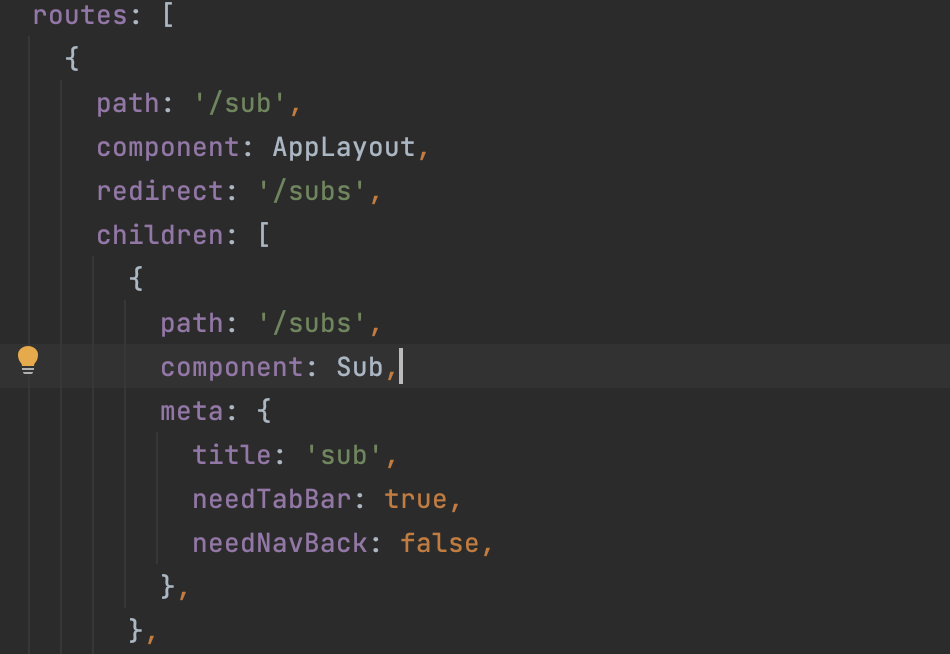
接着修改根路由,将如下代码修改为图片上的
1
2
3
4
5
6
7
8
9
10
11
12
13
14
15
routes : [ { path : '/' , component : AppLayout , redirect : '/subs' , children : [ { path : '/subs' , component : Sub , meta : { title : 'sub' , needTabBar : true , needNavBack : false , }, },
path: '/'改为path: '/sub'
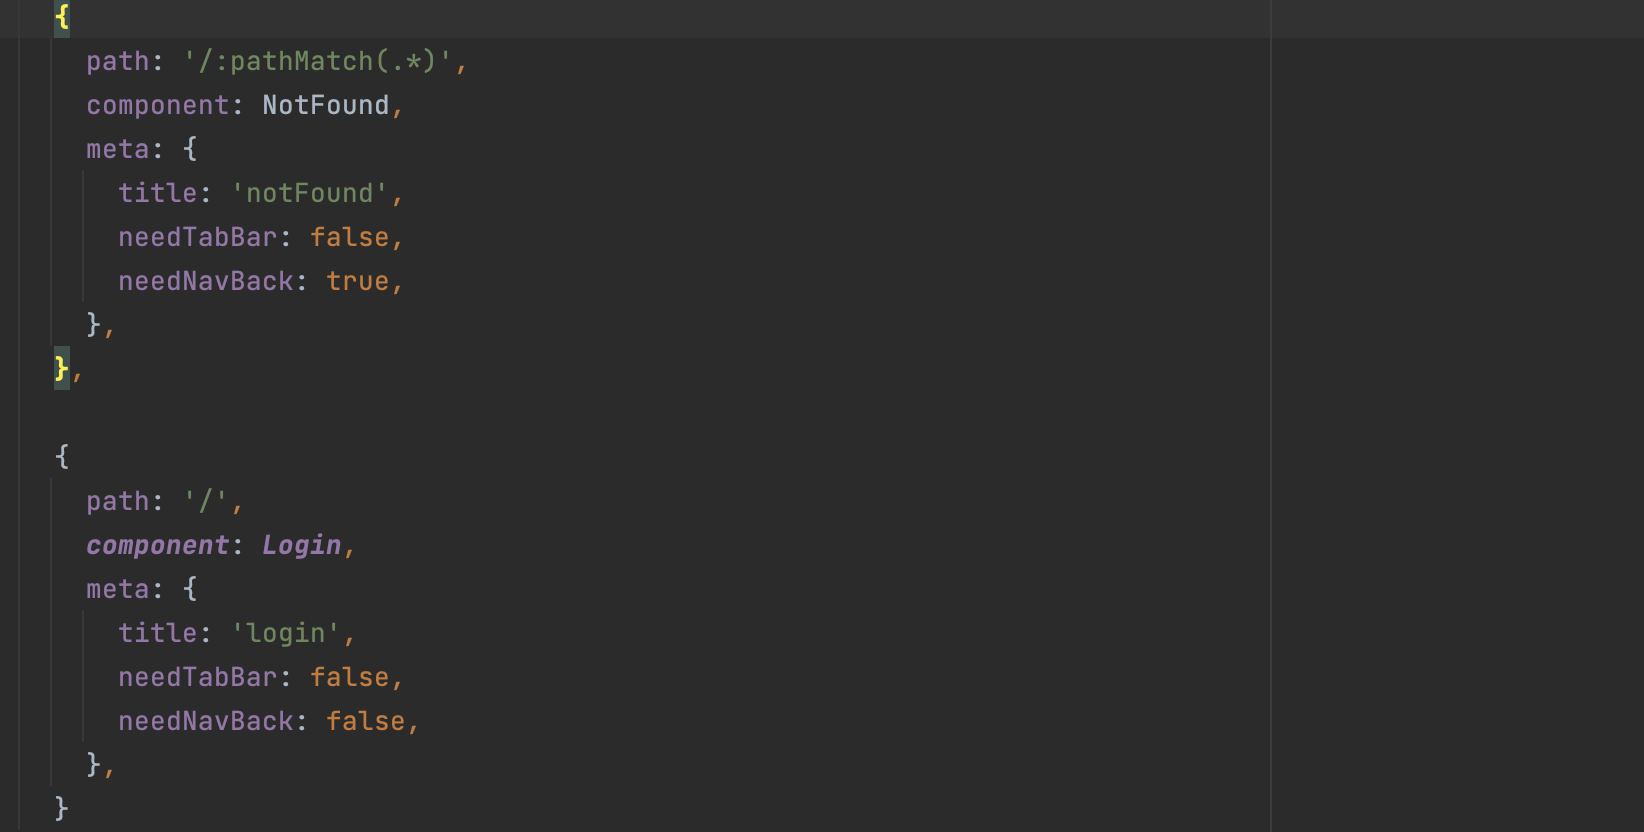
接着添加登陆路由path: '/:pathMatch(.*)'代码后面添加
1
2
3
4
5
6
7
8
9
10
11
12
13
14
15
16
17
18
19
{ path : '/:pathMatch(.*)' , component : NotFound , meta : { title : 'notFound' , needTabBar : false , needNavBack : true , }, }, { path : '/' , component : Login , meta : { title : 'login' , needTabBar : false , needNavBack : false , }, }
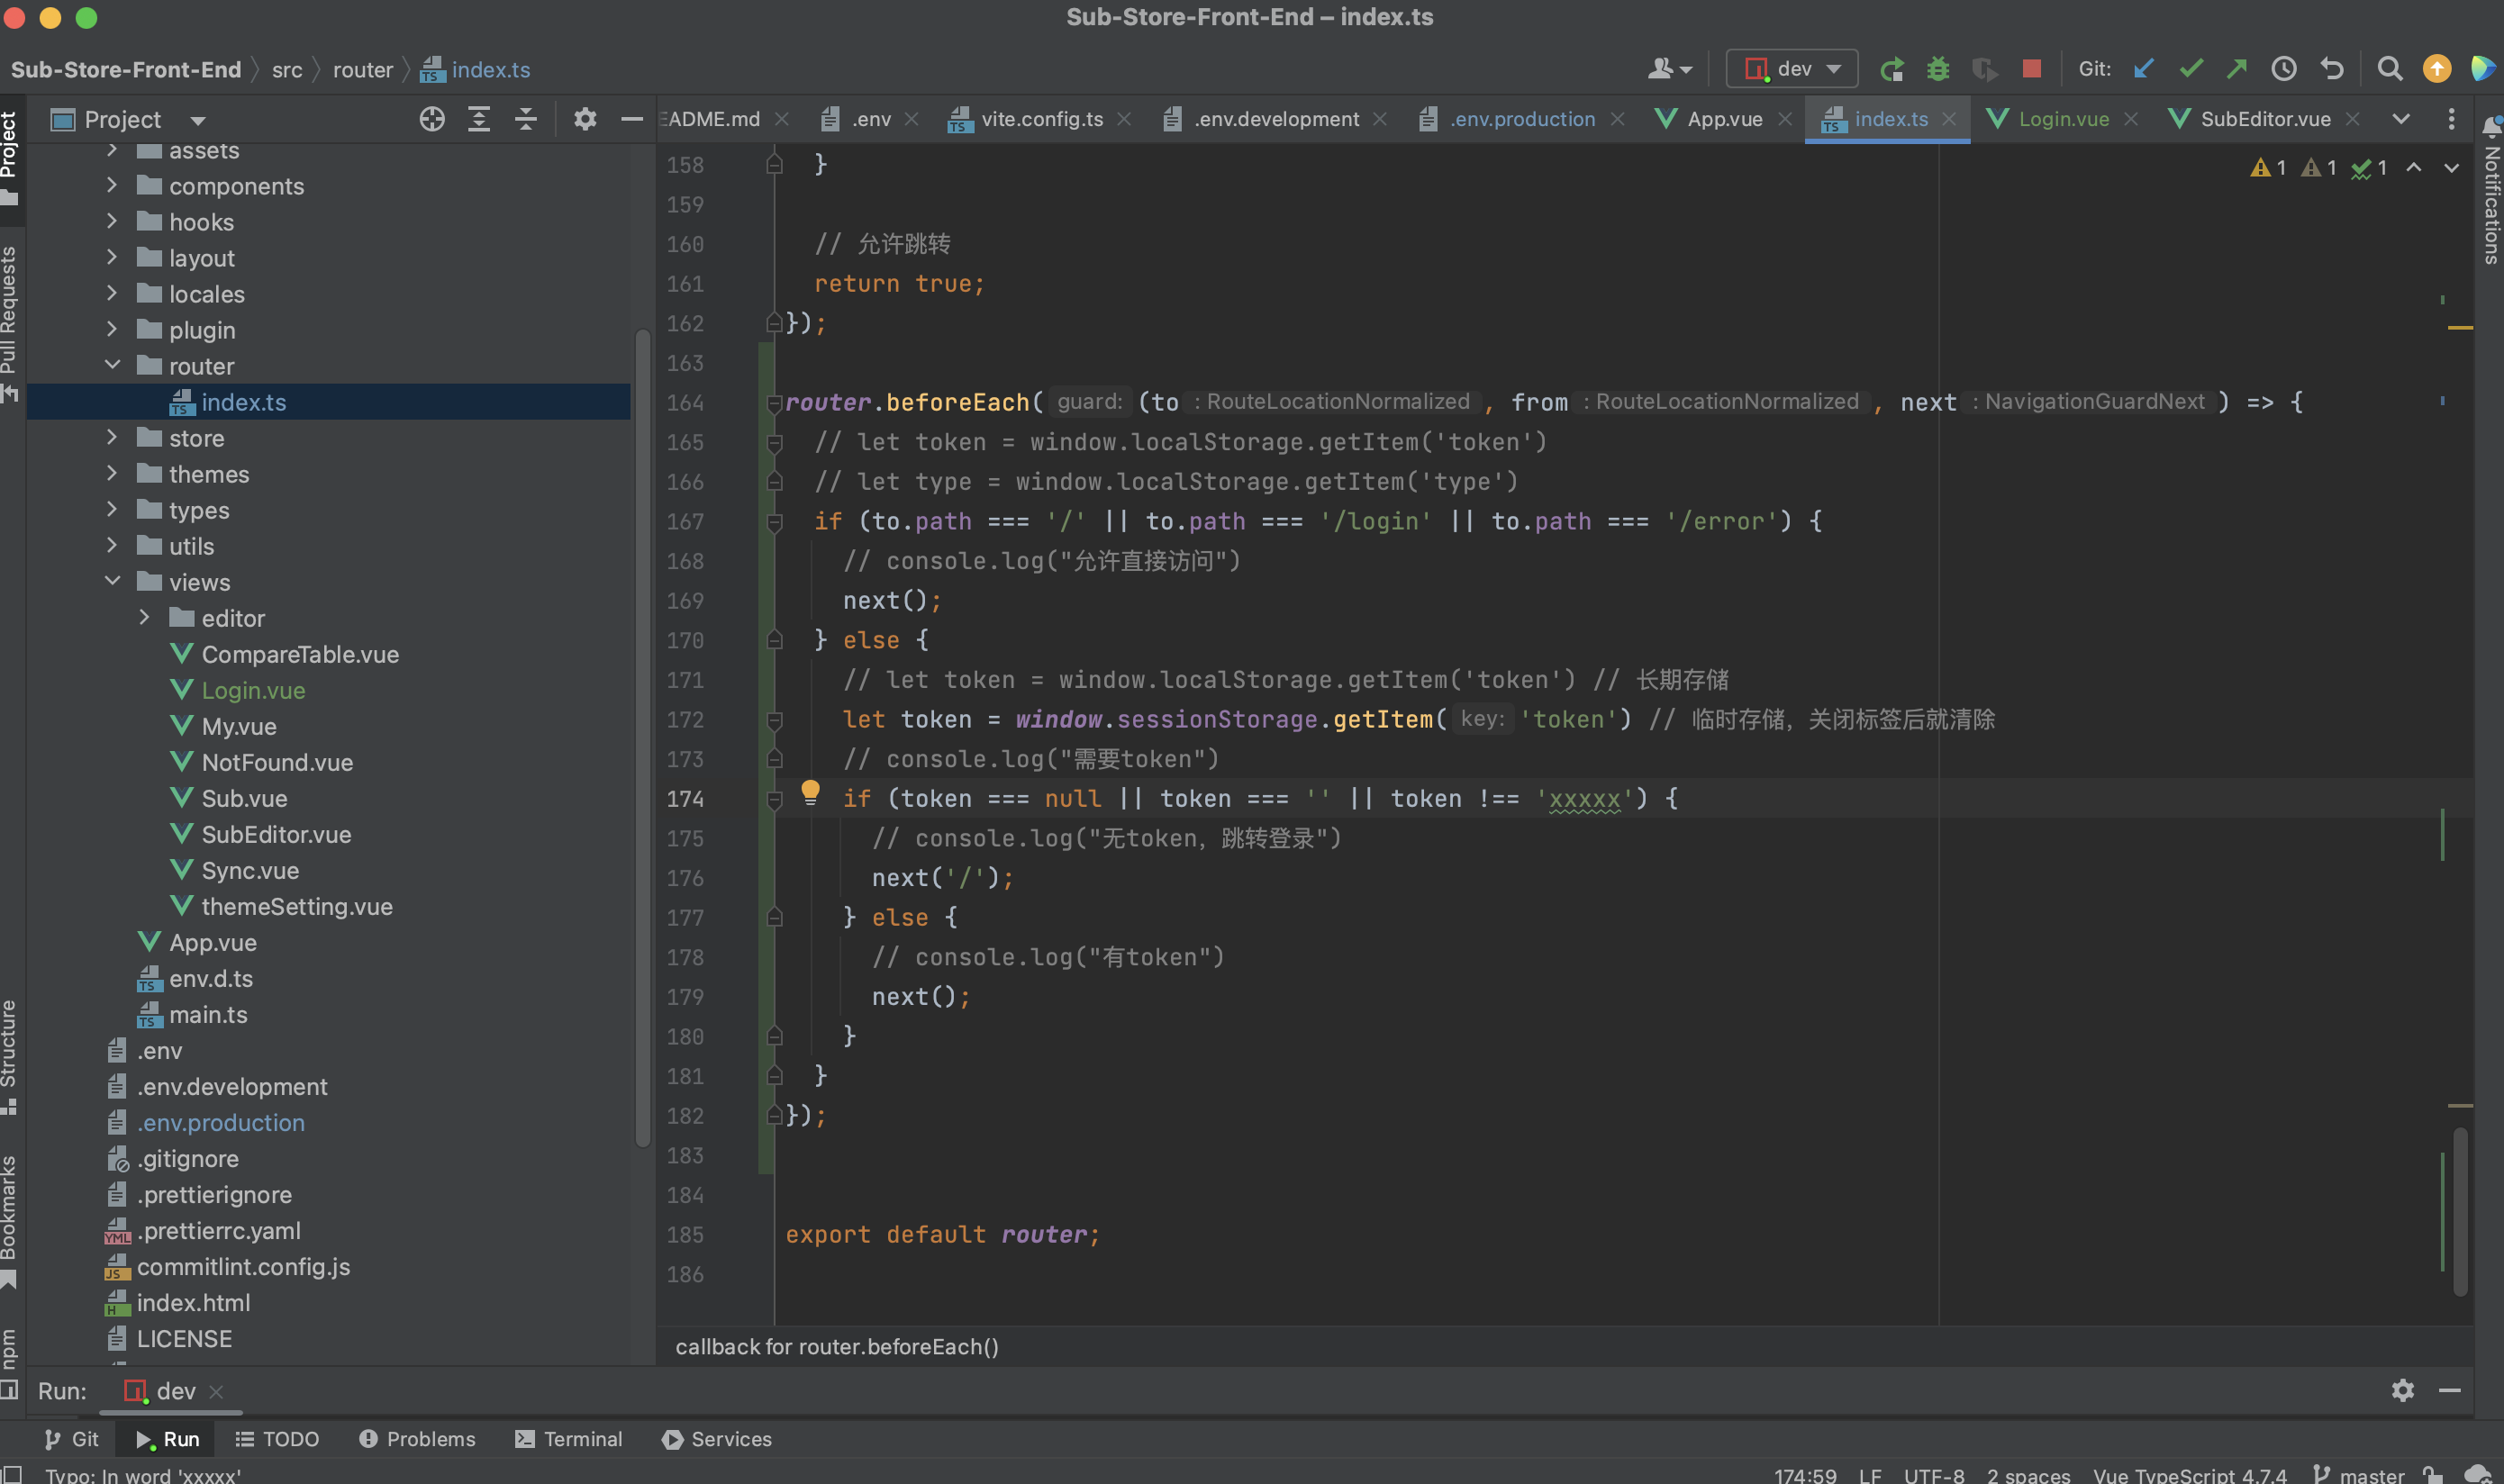
在本页最后一行export default router;上面添加路由拦截
1 2 3 4 5 6 7 8 9 10 11 12 13 14 15 16 17 18 19 20 21 22 router.beforeEach ((to, from , next ) => { if (to.path === '/' || to.path === '/login' || to.path === '/error' ) { next (); } else { let token = window .sessionStorage .getItem ('token' ) if (token === null || token === '' || token !== 'code' ) { next ('/' ); } else { next (); } } }); export default router;
此处if (token === null || token === '' || token !== 'code') {的code即为上面登陆页填写的token
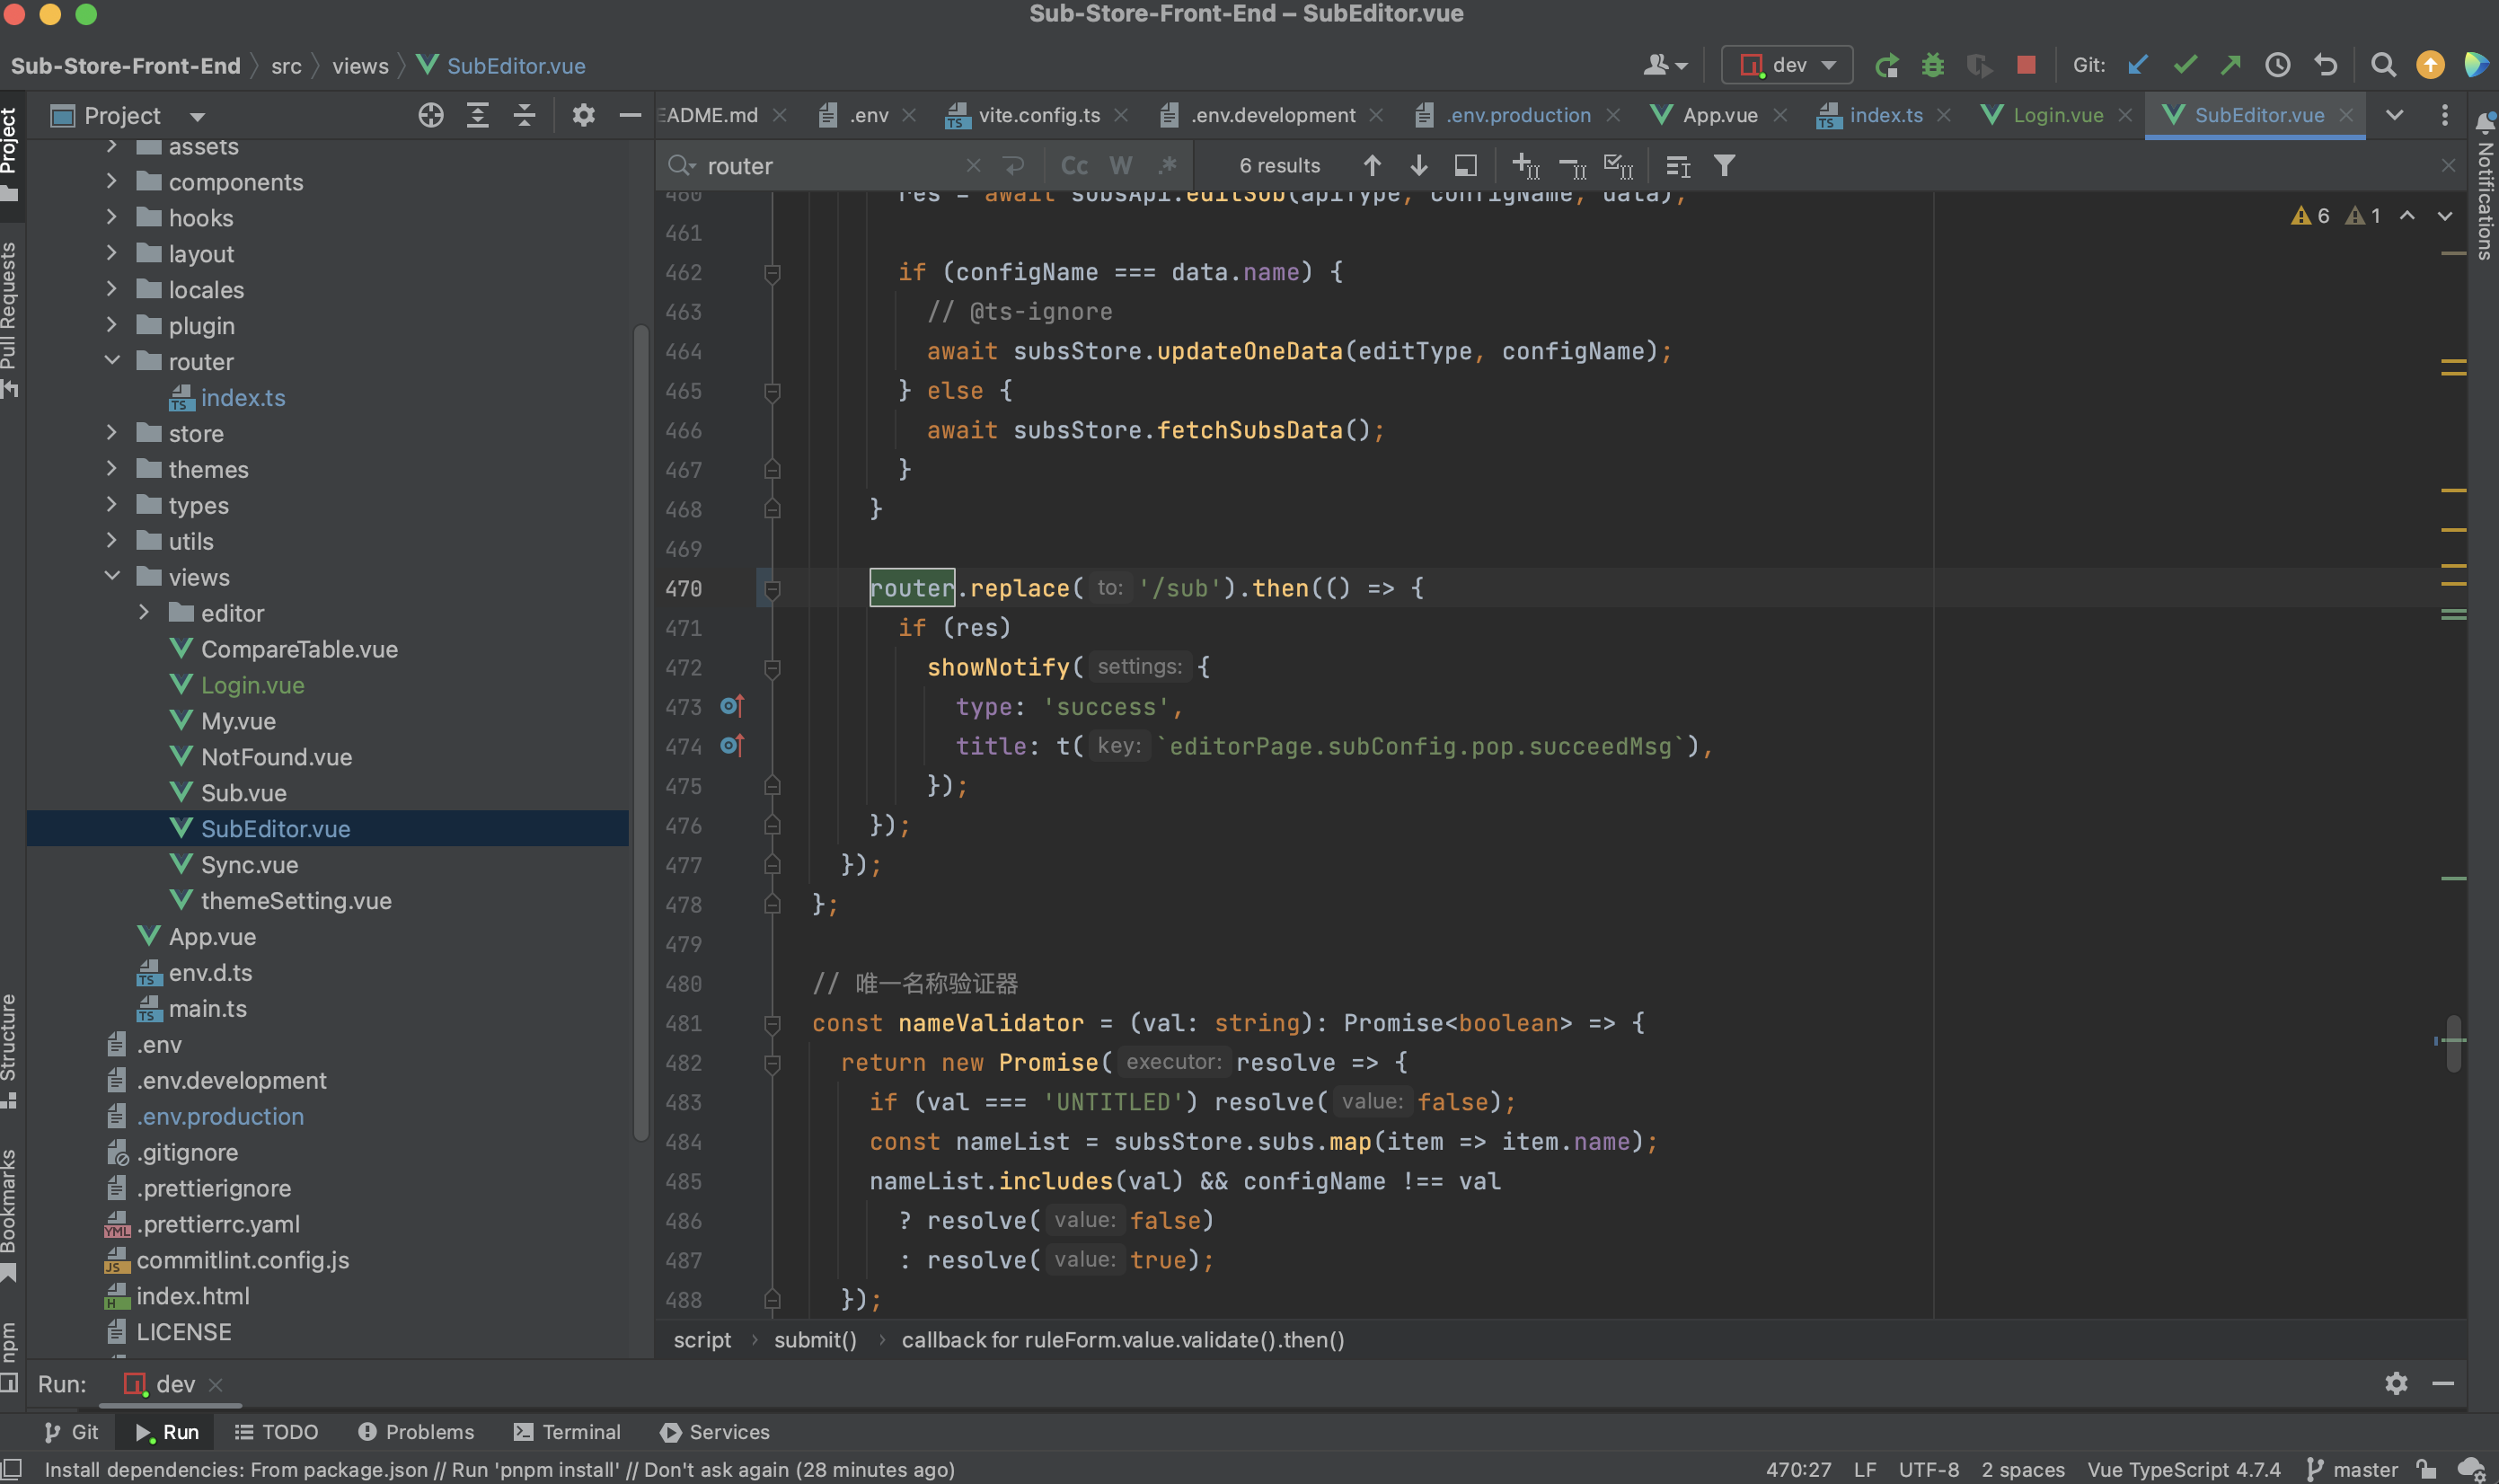
接着修改根目录/src/views/SubEditor.vuerouter.replace,会跳转到相应代码router.replace('/')改为router.replace('/sub')
登陆页的命名与翻译 根目录/src/locales/en.ts
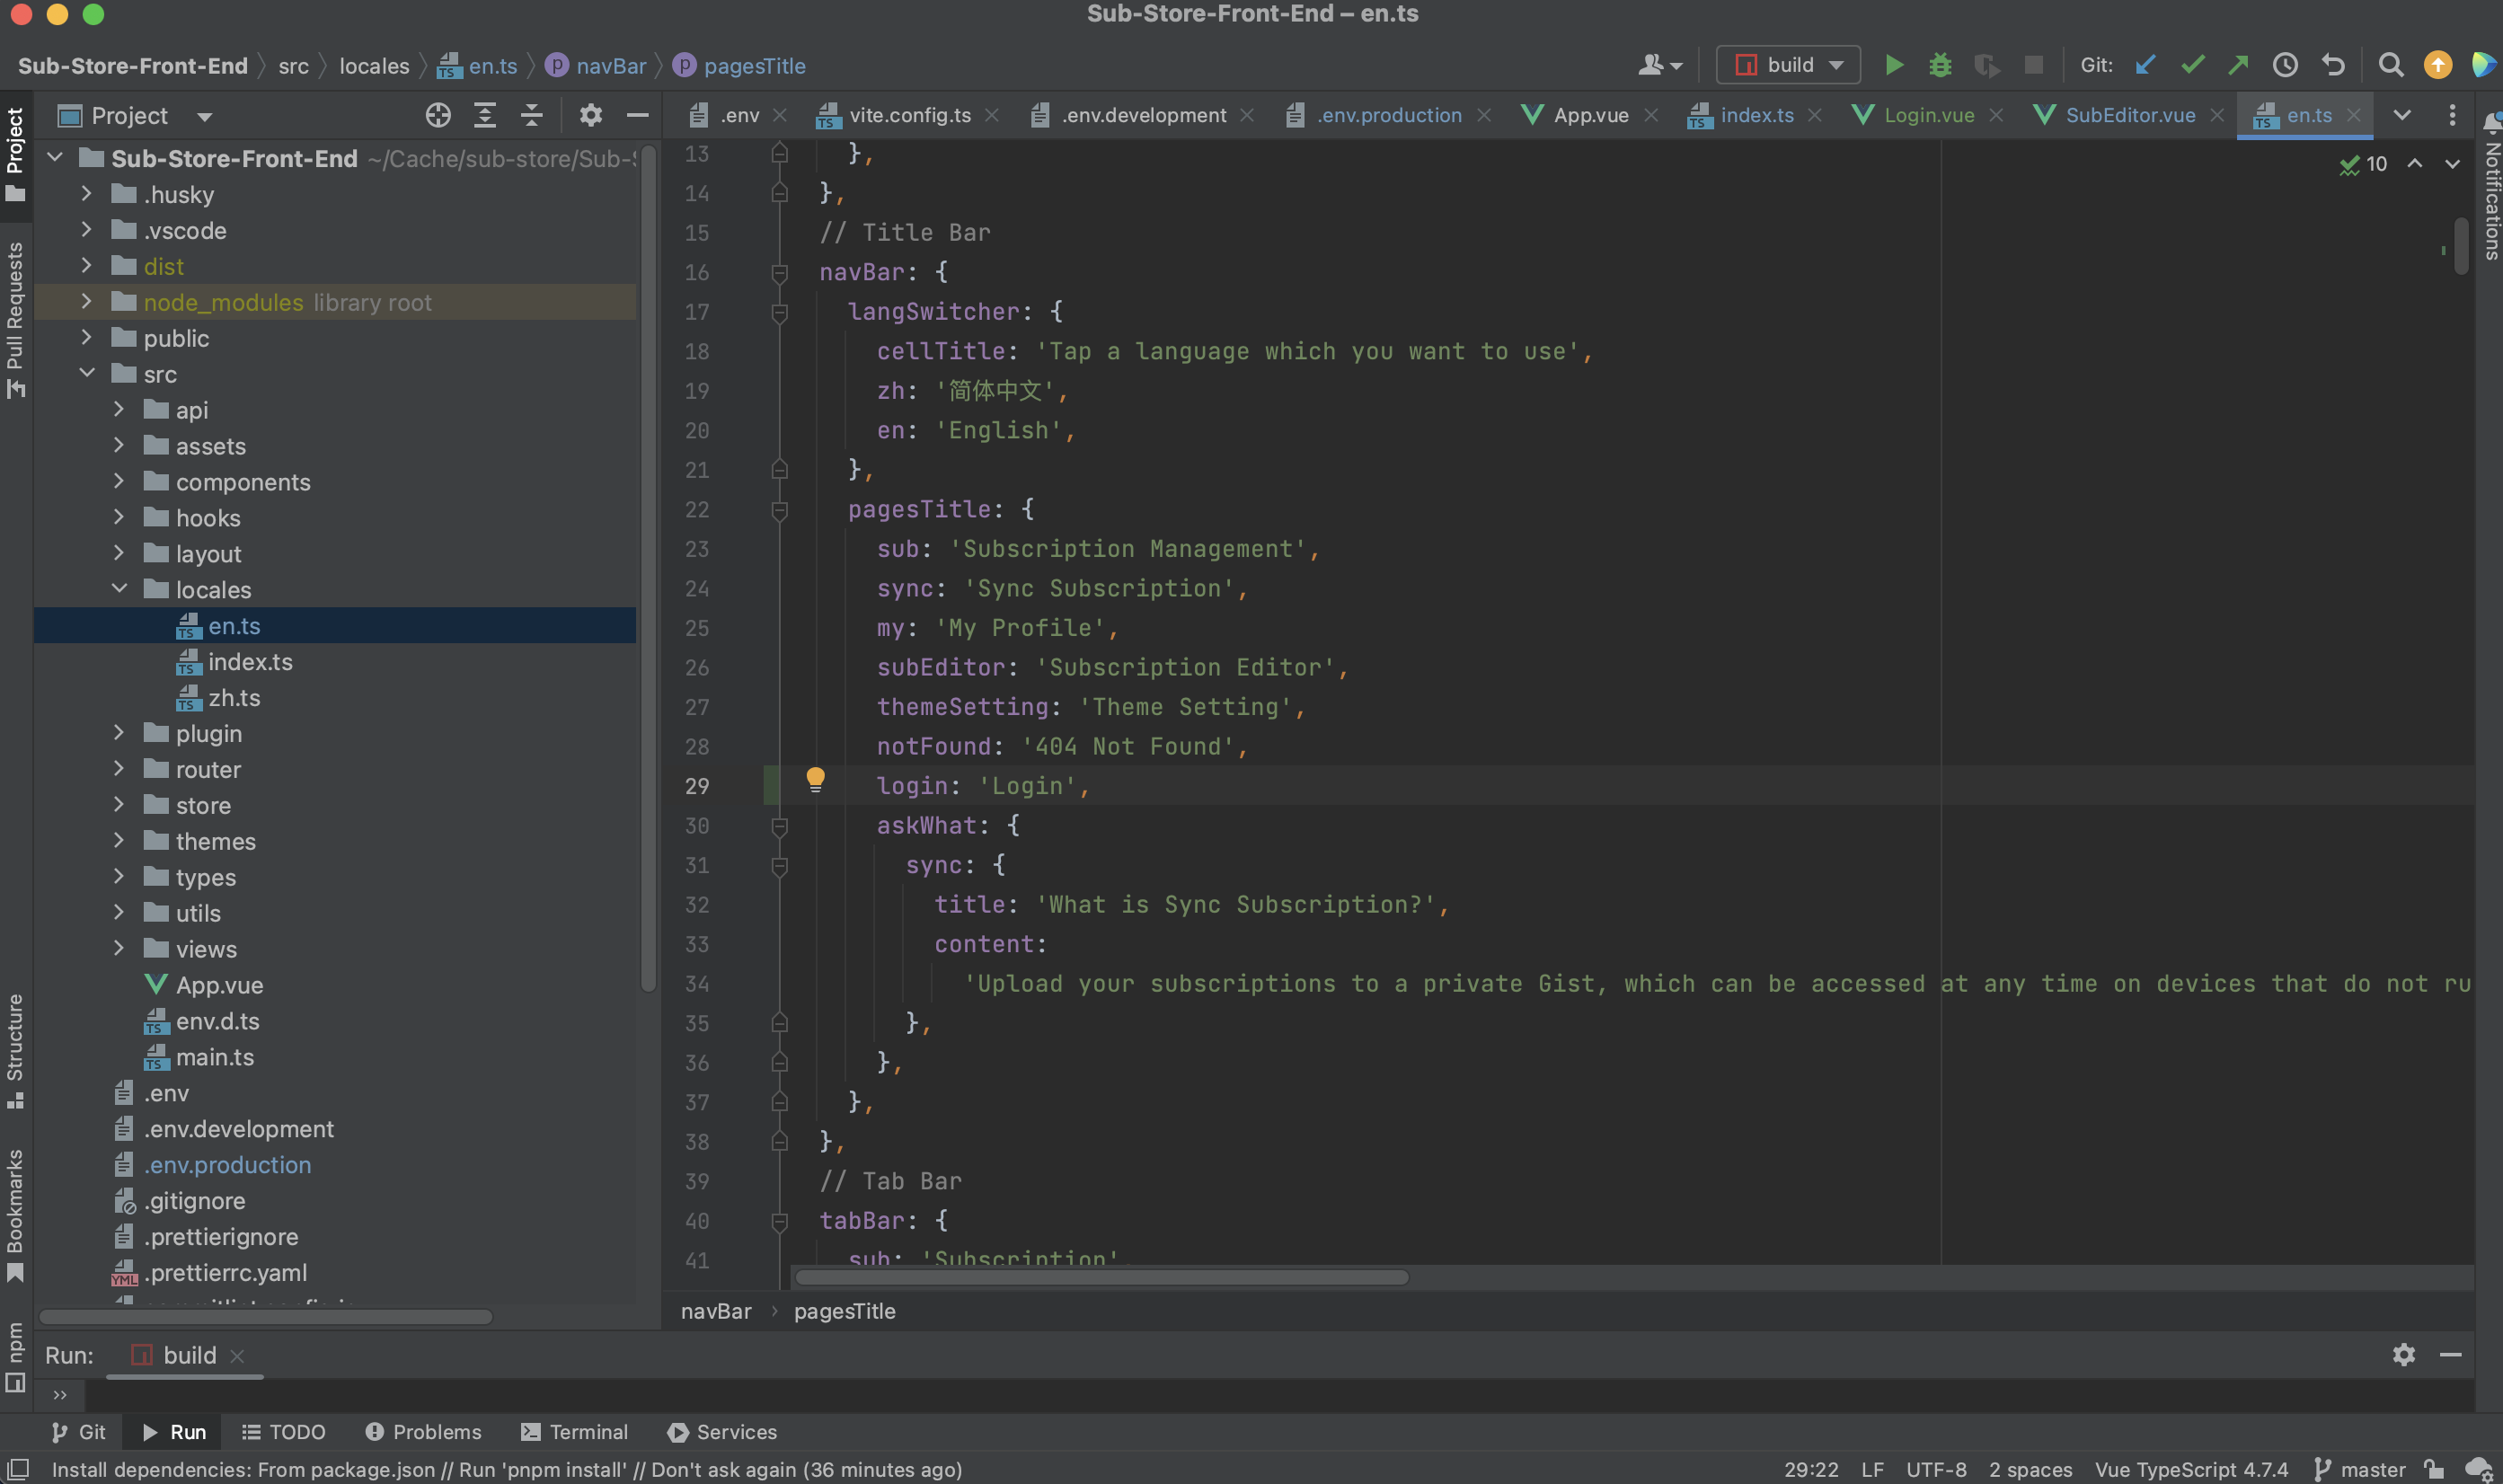
可以使用搜索notFound: '404 Not Found',,再此行下面添加login: 'Login',
1
2
3
4
5
6
7
8
9
10
11
12
13
14
15
16
pagesTitle : { sub : 'Subscription Management' , sync : 'Sync Subscription' , my : 'My Profile' , subEditor : 'Subscription Editor' , themeSetting : 'Theme Setting' , notFound : '404 Not Found' , login : 'Login' , askWhat : { sync : { title : 'What is Sync Subscription?' , content : 'Upload your subscriptions to a private Gist, which can be accessed at any time on devices that do not run the Sub Store (e.g. routers, etc.).' , }, }, },
同样
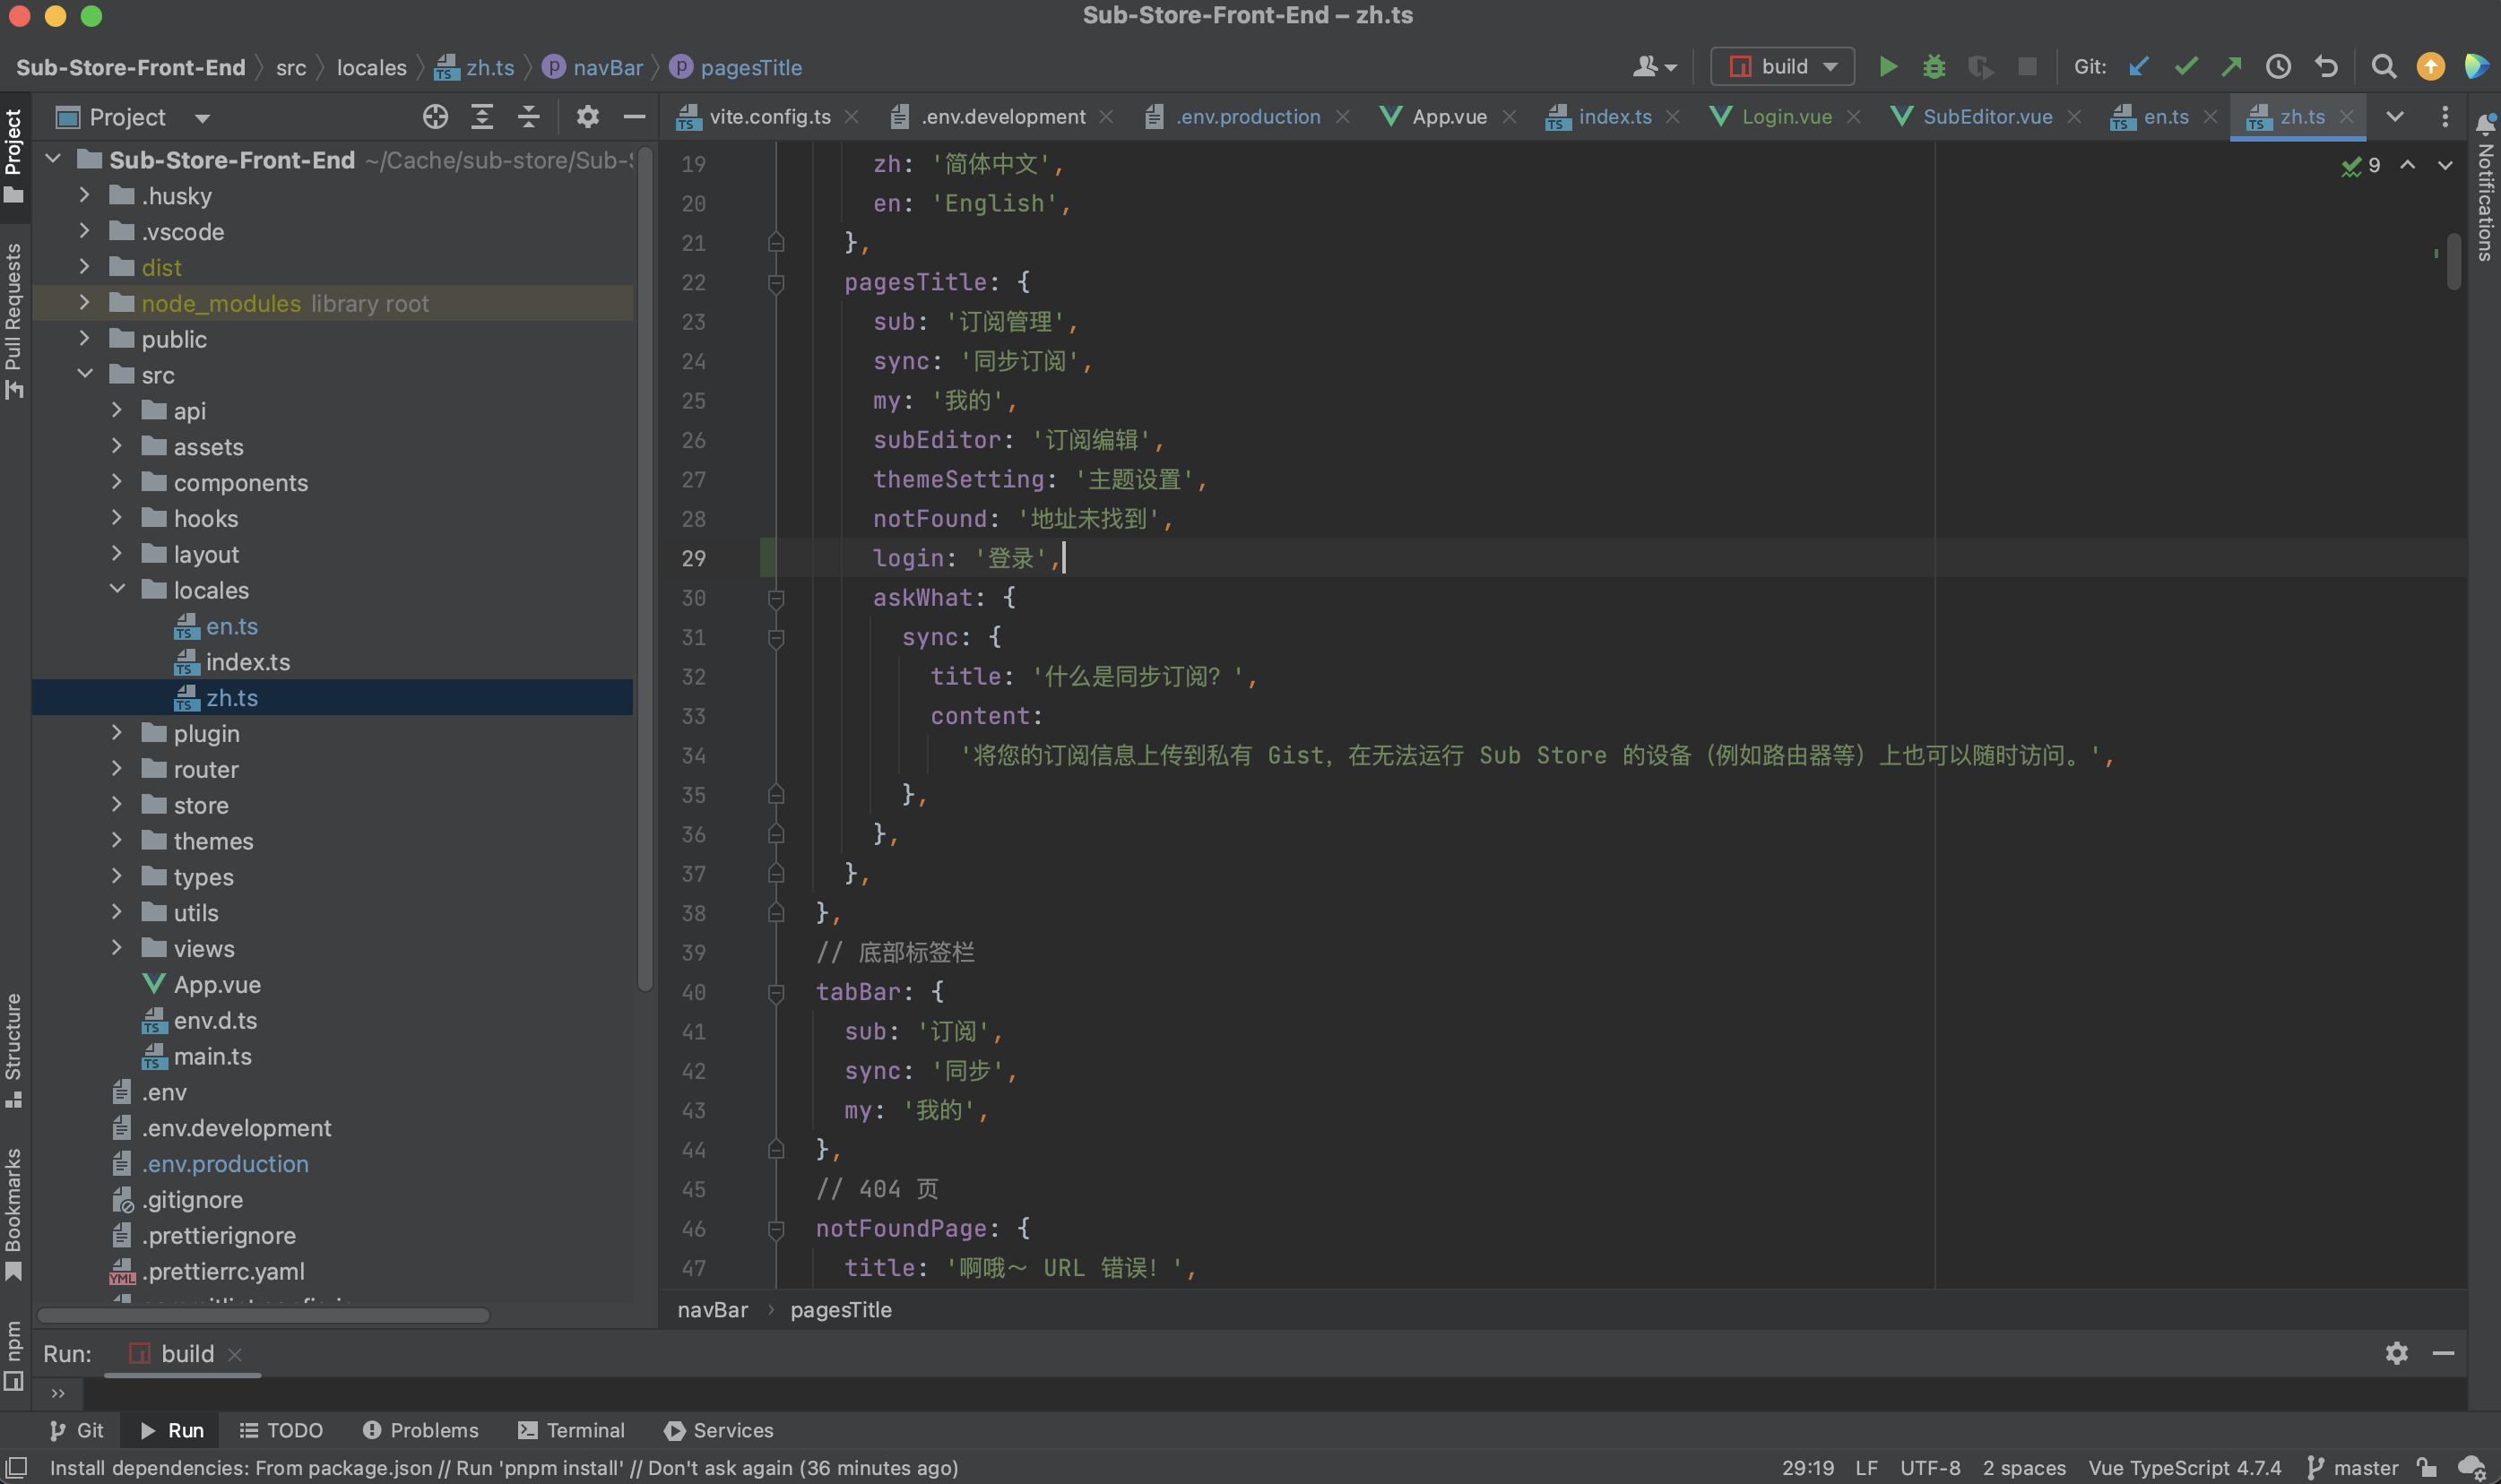
根目录/src/locales/zh.ts notFound: '地址未找到',,再此行下面添加login: '登录',
1
2
3
4
5
6
7
8
9
10
11
12
13
14
15
16
pagesTitle : { sub : '订阅管理' , sync : '同步订阅' , my : '我的' , subEditor : '订阅编辑' , themeSetting : '主题设置' , notFound : '地址未找到' , login : '登录' , askWhat : { sync : { title : '什么是同步订阅?' , content : '将您的订阅信息上传到私有 Gist,在无法运行 Sub Store 的设备(例如路由器等)上也可以随时访问。' , }, }, },
至此已经全部结束,接下来就是打包发布并部署服务器
前端打包 在根目录下进入终端命令,执行``pnpm build`,然后等待其打包好
打包好后,根目录会多出dist文件夹,此文件夹就是打包好的网站文件,也是我们需要发布服务器的
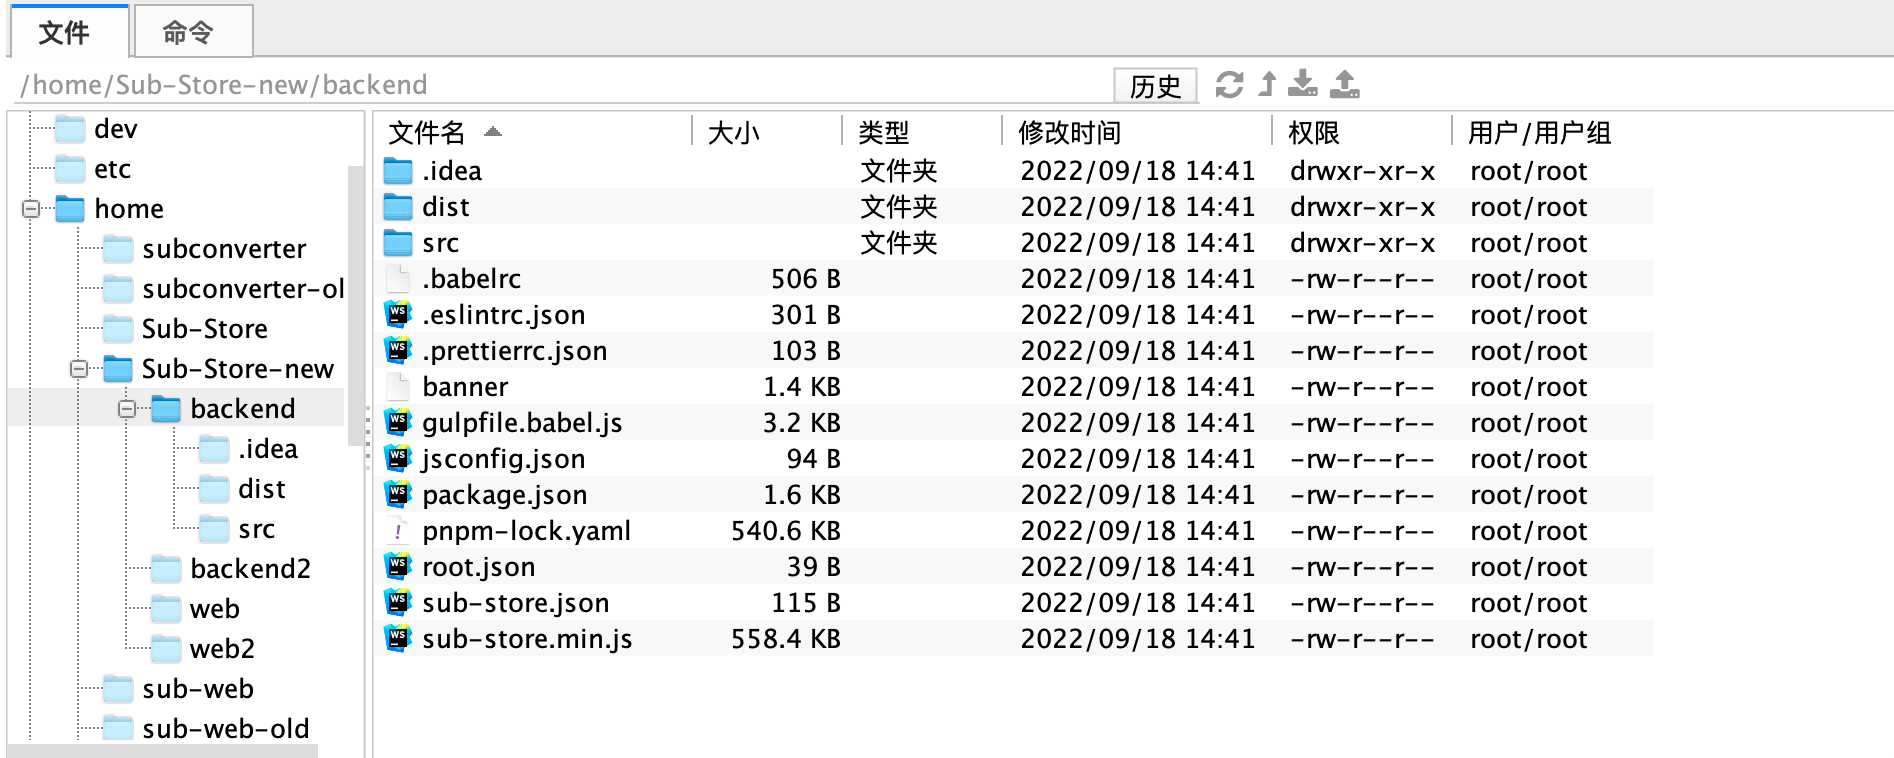
上传服务器并配置启动后端 在服务器上找一个文件夹存放前后端文件
再找一个文件夹把后端项目里的backend文件夹上传
命令行进入后端存放目录,执行pnpm i
完成后再执行pm2 start /home/Sub-Store-new/backend/sub-store.min.js,完成后继续执行pm2 save,如果成功,至此后端已经成功启动
pm2需要先安装好
配置Nginx 1 2 3 4 5 6 7 8 9 10 11 12 13 14 15 16 17 18 19 20 21 22 23 24 25 26 27 28 29 30 31 32 33 34 35 36 37 38 39 40 41 42 43 44 45 46 47 48 49 50 51 52 53 54 55 56 57 58 59 60 61 62 63 64 65 66 67 68 69 70 71 72 73 74 75 76 77 78 79 80 81 82 83 84 85 86 87 88 89 90 91 92 93 94 95 96 97 98 99 100 101 102 103 104 105 106 107 # For more information on configuration, see: # * Official English Documentation: http://nginx.org/en/docs/ # * Official Russian Documentation: http://nginx.org/ru/docs/ user nginx; worker_processes auto; error_log /var/log/nginx/error.log; pid /run/nginx.pid; # Load dynamic modules. See /usr/share/doc/nginx/README.dynamic. include /usr/share/nginx/modules/*.conf; events { worker_connections 1024; } stream { # 这里就是 SNI 识别,将域名映射成一个配置名,请修改自己的一级域名 map $ssl_preread_server_name $backend_name { sub.whitemoon.top sub; # 域名都不匹配情况下的默认值 default web; } upstream sub { server 127.0.0.1:10244; } # 监听 443 并开启 ssl_preread server { listen 443 reuseport; listen [::]:443 reuseport; proxy_pass $backend_name; ssl_preread on; } } http { log_format main '$remote_addr - $remote_user [$time_local] "$request" ' '$status $body_bytes_sent "$http_referer" ' '"$http_user_agent" "$http_x_forwarded_for"'; access_log /var/log/nginx/access.log main; sendfile on; tcp_nopush on; tcp_nodelay on; keepalive_timeout 65; types_hash_max_size 2048; include /etc/nginx/mime.types; default_type application/octet-stream; # Load modular configuration files from the /etc/nginx/conf.d directory. # See http://nginx.org/en/docs/ngx_core_module.html#include # for more information. include /etc/nginx/conf.d/*.conf; server { # 开启 HTTP2 支持 listen 10244 ssl http2; server_name sub.zqzess.com; # root /home/Sub-Store-new/web/dist; # index index.html; gzip on; gzip_http_version 1.1; gzip_vary on; gzip_comp_level 6; gzip_proxied any; gzip_types text/plain text/css application/json application/javascript application/x-javascript text/javascript; ssl_protocols TLSv1.2 TLSv1.3; ssl_certificate /usr/share/nginx/key/1_sub.zqzess.com_bundle.crt; ssl_certificate_key /usr/share/nginx/key/2_sub.zqzess.com.key; ssl_session_cache shared:SSL:10m; ssl_session_timeout 5m; ssl_ciphers HIGH:!aNULL:!MD5; ssl_prefer_server_ciphers on; # # WS 协议转发 # location /fTY9Bx7c { # proxy_redirect off; # proxy_http_version 1.1; # proxy_set_header Upgrade $http_upgrade; # proxy_set_header Connection "upgrade"; # proxy_set_header Host $http_host; # proxy_pass http://127.0.0.1:16881; # } # location / { # proxy_pass http://127.0.0.1:3000; # } location / { root /home/Sub-Store-new/web/dist; index index.html index.htm; try_files $uri $uri/ /index.html; } location /api { proxy_pass http://127.0.0.1:3000; } location /download { proxy_pass http://127.0.0.1:3000; } } }
完结 最后访问自己的域名查看效果
参考 Sub-Store
